
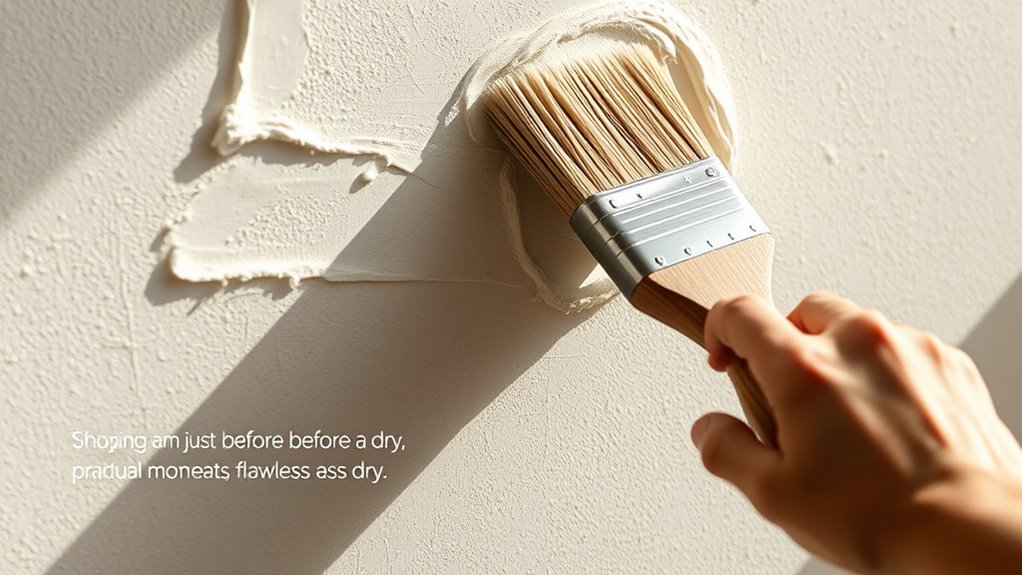
You should wait until the plaster feels firm, dry, and isn’t sticky before brushing, usually within 24 to 48 hours after application. Check for a slight sheen and perform a gentle touch test—press lightly on an inconspicuous spot, ensuring no fingerprint or residual tackiness remains. Rushing this step risks streaks and surface imperfections. To guarantee a smooth, professional finish, understanding the drying signs helps you time your brushing perfectly. Keep exploring for helpful tips and techniques.
Key Takeaways
- Wait 24-48 hours after application until the plaster feels firm and is no longer tacky.
- Ensure the surface appears matte and dry, with no gloss or damp patches.
- Perform a gentle touch test; the surface should feel firm but slightly damp, without leaving fingerprints.
- Avoid brushing too early to prevent streaks, cracks, or surface imperfections.
- Monitor environmental conditions like temperature and humidity to determine optimal drying time.
Understanding the Drying Process of Plaster
Understanding the drying process of plaster is essential before you start brushing. When plaster is applied, it begins to lose moisture through evaporation. This process can take anywhere from several hours to a few days, depending on factors like thickness, temperature, and humidity. During the initial phase, the surface may feel dry to the touch, but the interior still retains moisture. It’s vital to allow enough time for the plaster to develop a skin, which signals that the surface is drying properly. Monitoring the plaster’s appearance and texture helps determine if it’s ready for the next step. Proper drying involves moisture evaporation that ensures a uniform finish and prevents streaks. Rushing this stage can cause imperfections or streaks. Patience is key, as proper drying ensures a smooth, even finish when you start brushing.
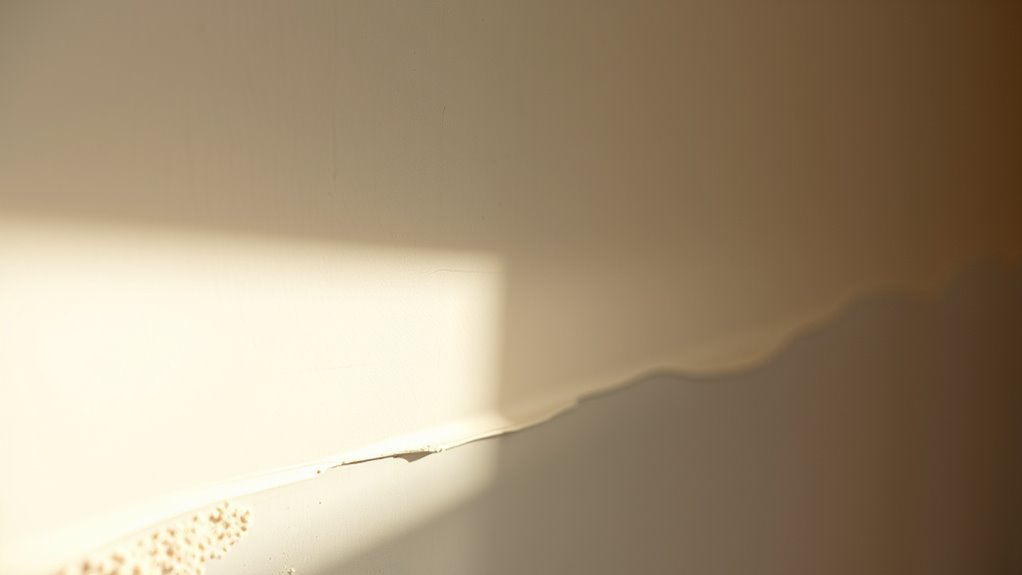
Recognizing the Signs of Proper Skinning
Before you start brushing, it’s important to recognize the signs that the plaster has developed a proper skin. You’ll notice a slight change in texture—it’s no longer tacky or wet but feels firm and dry to the touch. The surface should appear matte, not glossy or shiny, indicating it’s reached the right stage. When you gently press, it shouldn’t leave an indent or feel sticky. Additionally, the edges may start to lift slightly, and there should be no visible water sheen or damp patches. These signs show the plaster has sufficiently dried on the surface but isn’t fully cured. Recognizing these cues helps you time your brushing perfectly, avoiding streaks or damage that can occur if you’re too early or late. Proper timing also depends on understanding the drying process and how environmental factors influence it.
The Ideal Time Frame for Brushing New Plaster
You should wait until the plaster is properly dry before brushing to avoid damage. Check for surface tackiness—if it’s still sticky, it’s too soon to brush. The best time to start is during the ideal brushing window, when the surface feels firm but still has a slight sheen. Additionally, ensure the right timing aligns with the recommended drying times to prevent streaks and surface imperfections.
Waiting for Proper Drying
Allow the plaster to dry completely before you start brushing. Rushing this step can cause streaks and uneven patches. Typically, new plaster takes at least 24 to 48 hours to dry thoroughly, but thicker coats or high humidity may extend this time. Check the surface; it should feel firm and dry to the touch without any dampness or coolness. You can also perform a simple test by pressing lightly with your finger—if the surface feels cool or damp, give it more time. Adequate drying guarantees the plaster’s surface is stable, which helps prevent streaks and surface damage during brushing. Proper drying builds tension in the plaster and ensures a smooth finish, reducing the risk of imperfections. Patience here is key—proper drying creates the best foundation for a smooth, flawless finish.
Recognizing Surface Tackiness
Once the plaster has dried thoroughly, it’s important to check for surface tackiness before brushing. Gently touch the surface with your finger; if it feels sticky or slightly tacky, it’s not yet ready for brushing. This tackiness indicates that the plaster’s surface is still moist and hasn’t fully set. If you brush too soon, you risk dragging the surface and causing streaks or uneven textures. Conversely, if the surface feels dry and smooth, it’s a sign that the plaster has lost its tackiness and is ready for the next step. Keep in mind that surface tackiness can vary based on humidity and plaster thickness, so always test before proceeding. Recognizing this subtle cue helps ensure a smooth, streak-free finish.
Optimal Brushing Window
After confirming that the plaster surface no longer feels tacky, it’s time to identify the best window for brushing. The ideal period is when the plaster is firm enough to resist streaks but still moist enough for smooth finishing. Typically, this window occurs within 24-48 hours after application.
| Stage | Surface Feel | Recommended Action |
|---|---|---|
| Immediate After Plaster | Slightly tacky | Avoid brushing, let it cure |
| Early Cure | No tackiness, slightly soft | Gently brush within 24 hours |
| Fully Cured | Hard and dry | Do not brush; risk streaks |
| Optimal Window | Firm but moist | Perfect for brushing |
Factors That Influence Drying and Setting Time
Temperature, humidity, and airflow all play a vital role in how quickly plaster dries and sets. Thicker layers of plaster take longer to cure, affecting when you should brush. Understanding these factors helps you choose the right time to avoid damaging the surface. Additionally, incorporating smart environmental controls can optimize drying conditions, ensuring a smoother finishing process.
Temperature and Humidity
Temperature and humidity play a crucial role in how quickly new plaster dries and sets. If it’s too cold or humid, drying slows, increasing the risk of streaks and cracks. Warm, dry conditions promote faster evaporation, but too rapid drying can cause surface cracks before the plaster fully hardens. On the other hand, high humidity retains moisture, delaying the setting process and making it harder to achieve a smooth finish. Ideally, maintain a consistent temperature between 50-70°F (10-21°C) and keep humidity levels around 40-60%. Using heaters or dehumidifiers can help control these factors, ensuring the plaster dries evenly. Monitoring environmental conditions allows you to plan the right time for brushing, preventing streaks and ensuring a professional finish. Proper environmental control is essential for achieving a flawless plaster surface.
Thickness of Plaster
The thickness of the plaster layer considerably impacts how quickly it dries and hardens. Thicker layers take longer to set because more material needs to lose moisture. If you apply a very thick coat, expect it to dry slowly, which increases the risk of streaks or cracks if you brush it too soon. Conversely, a thin layer dries faster and reaches its proper hardness sooner, reducing the chances of surface imperfections. It’s important to apply plaster in manageable thicknesses, typically no more than 1/8 to 1/4 inch per coat, to promote even drying. By controlling the thickness, you help ensure a smooth surface and minimize issues that could delay finishing or cause streaking. Additionally, understanding how drying and curing times vary with layer thickness can help you schedule your work more effectively. Always consider the layer’s depth when planning your plastering schedule.
Ventilation and Airflow
Proper ventilation and airflow markedly influence how quickly plaster dries and sets. Good airflow speeds up moisture evaporation, reducing the risk of streaks and cracking. Conversely, poor ventilation traps humidity, prolonging drying times and increasing the chance of surface imperfections. To optimize drying conditions, consider these factors:
- Use fans or open windows to promote continuous air movement around the freshly applied plaster.
- Maintain moderate temperature; extremely hot or cold environments can disrupt the drying process.
- Avoid stagnant air in enclosed spaces, which can lead to uneven drying and surface flaws.
- Ensuring appropriate airflow helps achieve a consistent finish and prevents surface issues from uneven drying.
Controlling airflow ensures a uniform, smooth finish and helps you determine the right moment to proceed with brushing or finishing. Proper ventilation is essential for a professional-looking result.
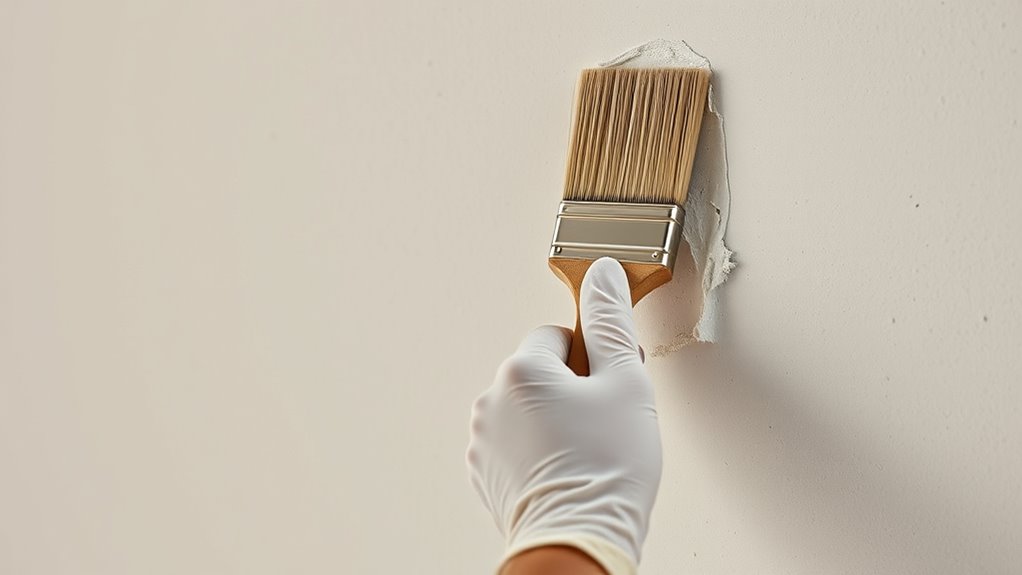
How to Perform a Touch Test to Check Readiness

Before applying the next coat of plaster, you should perform a touch test to check if it’s ready. Gently press your finger against the surface in an inconspicuous spot. If the plaster feels cool and slightly damp but doesn’t leave a fingerprint, it’s likely ready for the next layer. If your finger leaves a mark or feels soft, give it more time to cure. The surface should feel firm but not hard, with a slight tackiness that indicates proper drying. Avoid pressing too hard, which could damage the surface. Conduct this test in multiple areas to ensure consistent dryness across the entire surface. Performing this simple check helps prevent streaks and ensures your plaster is at the ideal stage for brushing or further finishing. Additionally, understanding the importance of proper installation and curing can help achieve a smooth, streak-free finish.
Common Mistakes That Lead to Streaks and Damage
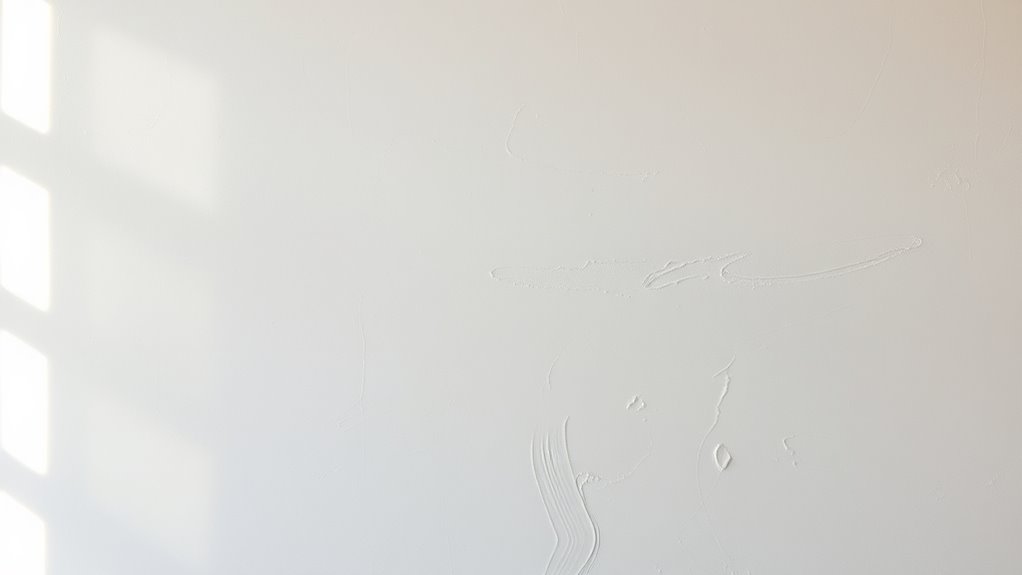
One common mistake that leads to streaks and damage is rushing the drying process or applying plaster too thickly, which prevents proper curing and creates uneven surfaces. When you hurry, the plaster doesn’t set evenly, causing visible streaks and weak spots. To avoid this, don’t ignore these pitfalls:
- Applying too much plaster at once, which traps moisture and delays drying.
- Skipping or rushing the curing period, leading to uneven hardening.
- Using improper tools or inconsistent pressure, resulting in uneven texture and streaks.
- Neglecting proper material selection, which can affect drying times and finish quality.
These mistakes compromise the finish’s smoothness and durability. Recognizing and avoiding them helps ensure you get a flawless, durable surface without streaks or damage. Patience and proper technique are key to achieving a professional-looking result.
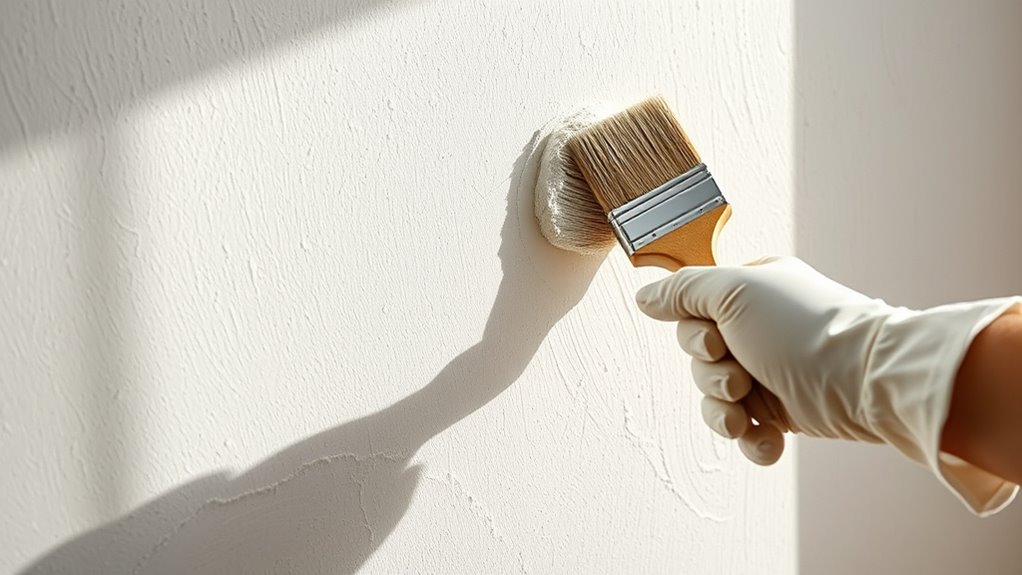
Tips for Brushing Smoothly and Effectively

To brush plaster smoothly and effectively, focus on using the right tools and techniques. Start with a high-quality brush suited for plaster, with stiffer bristles for better coverage. Maintain consistent pressure and use long, even strokes to avoid streaks. Keep your brush clean and moist to guarantee smooth application. Work in small sections, blending edges seamlessly.
Here’s a quick guide:
| Tool | Technique | Result |
|---|---|---|
| Wide brush | Use long, steady strokes | Even, streak-free finish |
| Damp sponge | Feather edges gently | Seamless transitions |
| Quality paint | Apply in thin coats | Smooth, durable surface |
| Ensure consistent pace | Work quickly but carefully | Uniform texture |
Post-Brushing Care for a Flawless Finish
Once you’ve finished brushing the plaster, proper post-application care is essential to guarantee a flawless finish. First, allow the plaster to set undisturbed for the recommended drying time—usually 24 hours—before applying any additional coats or finishes. Second, keep the surface protected from dust, drafts, and direct sunlight, which can cause uneven drying or streaks. Third, once dry, gently inspect the surface for imperfections; lightly sanding any rough spots with fine-grit sandpaper will ensure a smooth, even surface. By following these steps, you prevent streaks, cracks, and uneven patches, ensuring your plasterwork looks professional and flawless. Proper care immediately after brushing sets the foundation for a perfect, lasting finish.
Frequently Asked Questions
How Does Humidity Affect Plaster Drying Times?
Humidity slows down plaster drying times because moist air prevents moisture from evaporating quickly. When humidity is high, your plaster stays wet longer, increasing the risk of streaks and cracks if not given enough time to dry properly. You should monitor the humidity levels and give extra drying time in damp conditions. Using fans or dehumidifiers can help speed up the process, ensuring a smooth, streak-free finish.
Can Temperature Variations Impact When to Brush Plaster?
Temperature swings are like a rollercoaster for your plaster; they can make timing tricky. When it’s too cold, plaster dries slowly and may stay sticky longer, risking streaks if you brush too early. Hotter temperatures speed up drying, so you might need to wait until it’s just right. Monitor the temperature closely, and aim for a consistent, moderate climate to make certain of smooth, streak-free brushing.
What Tools Are Best for Achieving a Streak-Free Finish?
You should use a high-quality, synthetic brush or a smooth roller for a streak-free finish. A soft-bristled brush allows for precise control, while a roller with a fine nap helps achieve an even coat without marks. Keep your tools clean and dampen them slightly to prevent dry streaks. Work steadily, applying consistent pressure, and always brush or roll in the same direction to guarantee a seamless, professional look.
Is It Safe to Brush Plaster in Direct Sunlight?
Brushing plaster in direct sunlight isn’t recommended because the heat can cause the plaster to dry too quickly, leading to streaks and an uneven finish. You should work in shaded areas or during cooler parts of the day. If you must work in sunlight, do so carefully and quickly, and consider misting the plaster lightly to keep it workable. Always prioritize cooler, shaded conditions for the best results.
How Do Different Plaster Formulations Influence Drying and Brushing Timing?
Think of plaster formulations like different recipes—each one dries and cures uniquely. If you use a fast-drying plaster, you’ll want to brush it sooner, before it sets too hard. Slower mixes give you more time to work, allowing for gentle brushing later. Always follow the manufacturer’s guidelines, as these formulations directly influence how quickly your plaster dries and when you should start brushing to avoid streaks.
Conclusion
Remember, waiting for the right moment to brush your plaster is like catching a wave at just the right time—you don’t want to miss it or wipe out. When you test for readiness and brush with care, you’ll prevent streaks and achieve a smooth, professional finish. Trust your touch and patience; your walls will thank you with a flawless, mirror-like surface that stands the test of time.