To build vacuum lines and ports that are easy to clean from day one, choose smooth, non-porous materials like polyethylene or stainless steel, and design with gentle curves and consistent diameters to prevent debris buildup. Position access ports strategically near filters and bends for quick inspection and maintenance. Use standardized fittings and clear labeling for quick disassembly and easy identification. Planning for modular sections and routine upkeep will keep your system reliable—exploring these tips further can help simplify your setup.
Key Takeaways
- Position access ports near filters, valves, and bends for straightforward inspection and maintenance.
- Use modular, removable sections with quick-connect fittings to facilitate easy disassembly and cleaning.
- Design tubing with smooth, gentle curves and consistent diameters to minimize debris buildup and turbulence.
- Avoid tight spaces by placing ports in accessible locations, reducing the need for extensive disassembly.
- Clearly label and color-code vacuum lines and ports for quick identification and simplified troubleshooting.
vacuum line quick connect fittings
As an affiliate, we earn on qualifying purchases.
As an affiliate, we earn on qualifying purchases.
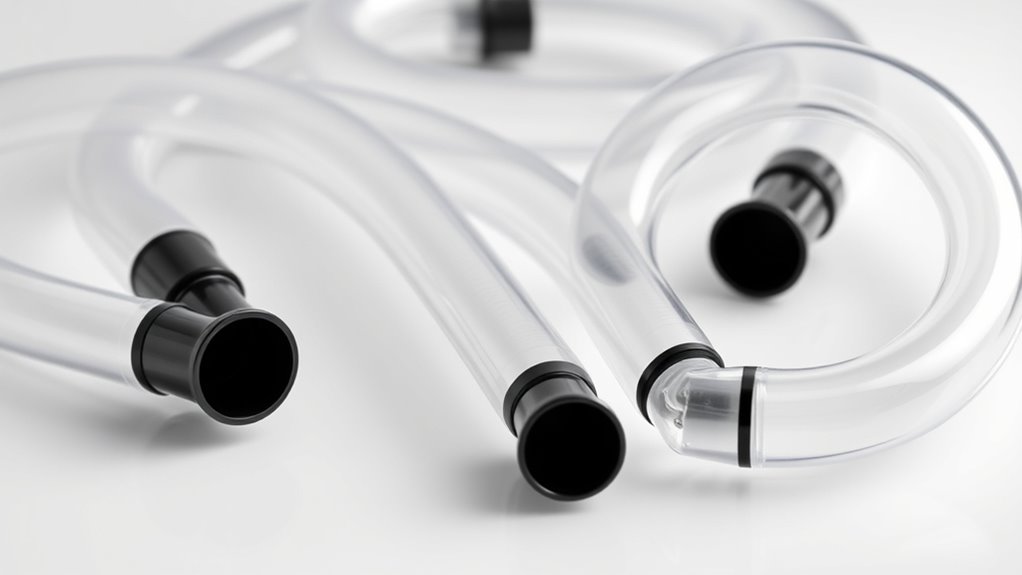
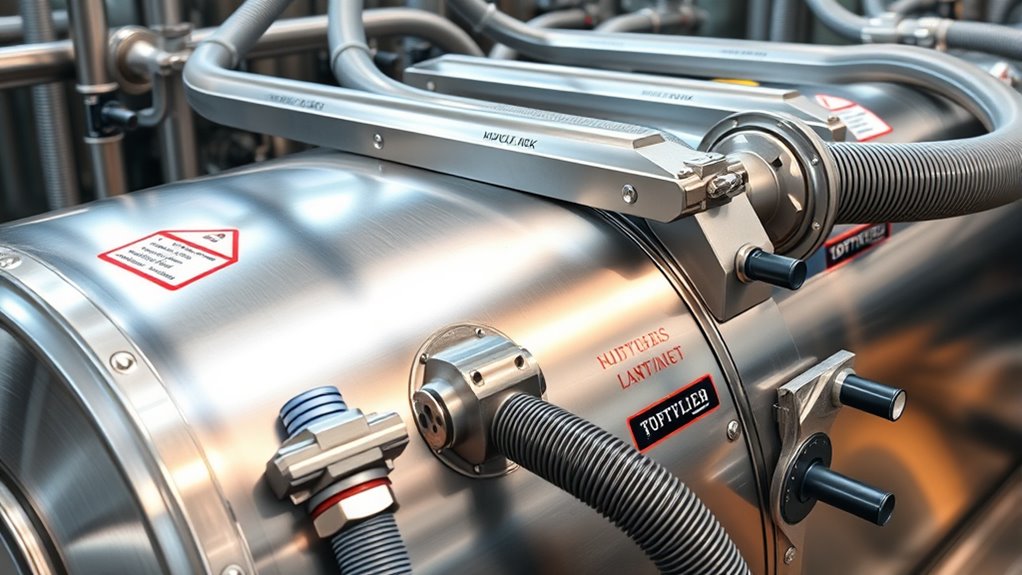
Choosing the Right Materials for Accessible Vacuum Components

Selecting the right materials for accessible vacuum components is essential to guarantee durability and reliable performance. You want materials that resist wear, chemicals, and temperature fluctuations, so your system stays operational over time. Choose plastics like polypropylene or polyethylene for their chemical resistance and ease of cleaning, which makes maintenance simpler. Metal parts, such as aluminum or stainless steel, provide strength and longevity, especially in high-stress areas. Avoid materials prone to cracking or degradation, as these can cause leaks or failures. Prioritize smooth surfaces and non-porous materials to prevent dirt buildup and facilitate cleaning. Being aware of cheating can help in understanding the importance of trust and integrity when maintaining systems that require consistent performance. By selecting appropriate, high-quality materials, you ensure your vacuum system remains efficient, easy to maintain, and capable of withstanding daily use without costly repairs.
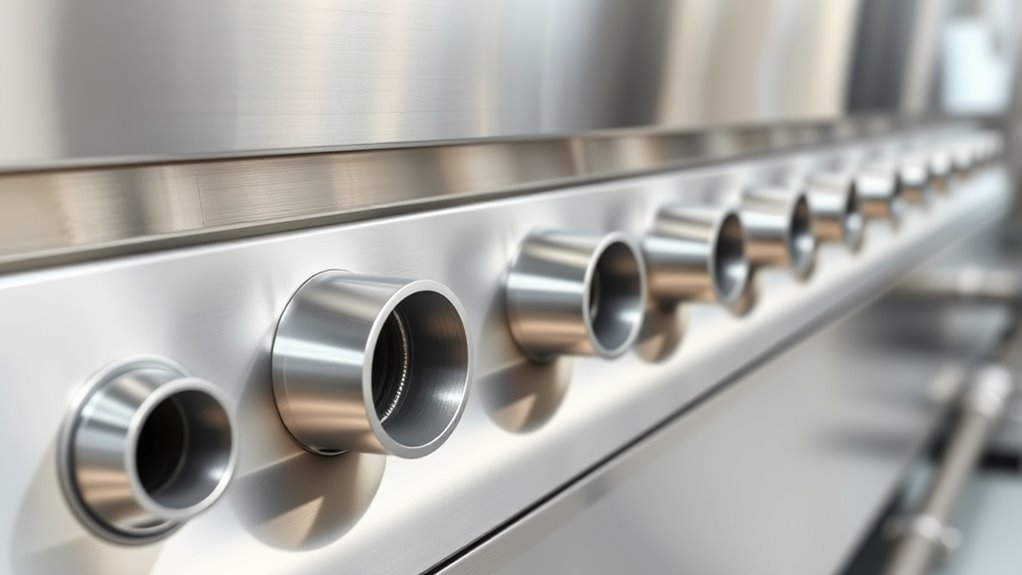
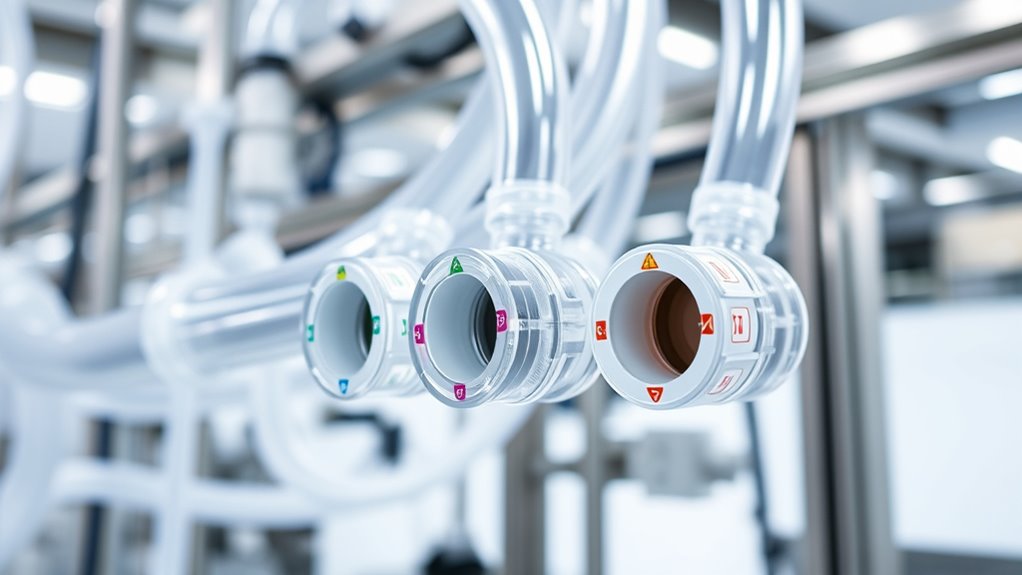
stainless steel vacuum ports
As an affiliate, we earn on qualifying purchases.
As an affiliate, we earn on qualifying purchases.
Designing Smooth and Unobstructed Vacuum Lines
Designing smooth and unobstructed vacuum lines is key to maintaining ideal airflow and system efficiency. To achieve this, use gently curved, gradual bends instead of sharp angles that can cause turbulence and blockages. Keep the diameter consistent throughout the system to prevent pressure drops and ensure smooth suction. Avoid unnecessary fittings or joints that could trap debris or create weak points. When planning your layout, prioritize direct paths that minimize length and complexity. Regularly inspect and clean lines to prevent buildup, and choose flexible tubing with smooth interiors to reduce friction. Properly designed lines help maintain steady airflow, improve cleaning performance, and make future maintenance easier. Additionally, ensuring your vacuum system is designed with personality test insights can help tailor maintenance routines to your specific usage and preferences. Remember, simplicity and smooth transitions are your best tools for an efficient vacuum system.
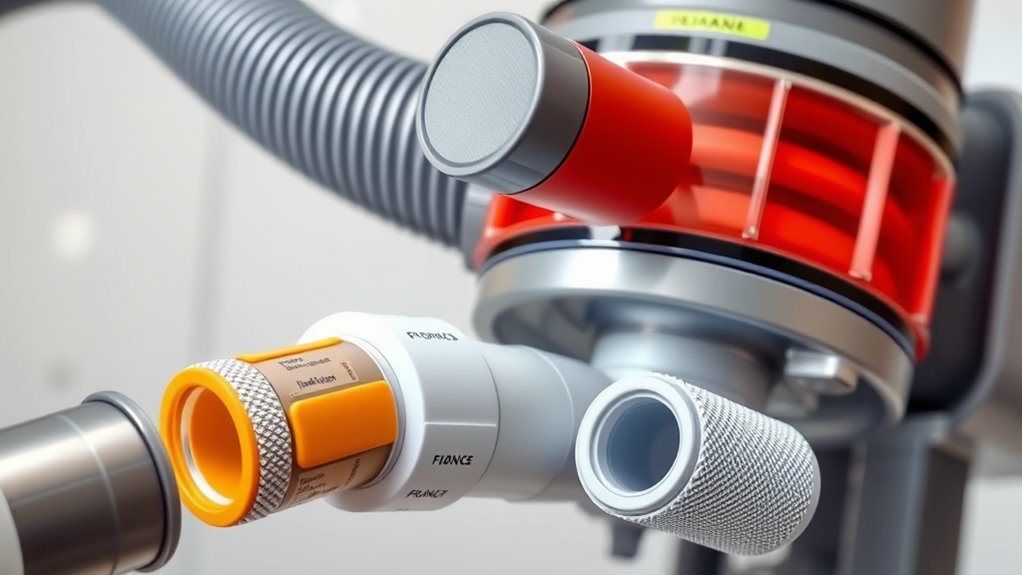
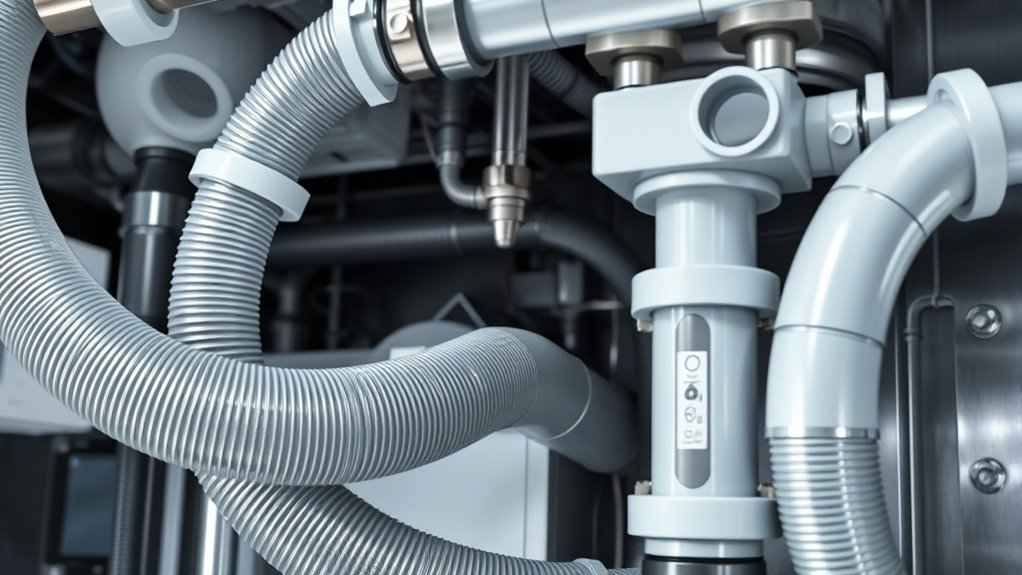
modular vacuum tubing system
As an affiliate, we earn on qualifying purchases.
As an affiliate, we earn on qualifying purchases.
Strategic Placement of Ports for Easy Access and Maintenance
To guarantee your vacuum system remains easy to maintain, placing ports strategically is essential. Position access ports near key components like filters, valves, and bends to simplify inspections and repairs. Avoid placing ports in hard-to-reach areas or behind tight bends, as this complicates maintenance tasks. Instead, locate them where you can easily open, clean, or replace parts without dismantling large sections. Consider the flow of your work and identify points where blockages or leaks are most likely to occur. Placing ports conveniently reduces downtime and minimizes the effort needed for routine checks. Proper placement from the start ensures your system stays efficient and easy to service over its lifespan. Additionally, integrating aesthetic wall organization solutions can help keep your workspace uncluttered, making maintenance even more straightforward.
vacuum line cleaning tools
As an affiliate, we earn on qualifying purchases.
As an affiliate, we earn on qualifying purchases.
Incorporating Removable and Modular Sections
Incorporating removable and modular sections can make your vacuum system more flexible and easier to maintain. Using modular connection techniques guarantees quick assembly and disassembly without compromising integrity. The benefits include simplified repairs, system upgrades, and reduced downtime, making your setup more efficient overall. Additionally, incorporating easy-to-clean components can further enhance convenience and reduce maintenance efforts over time.
Modular Connection Techniques
Modular connection techniques enable you to create vacuum line systems that are both flexible and easy to modify. Using quick-connect fittings, you can easily add or remove sections without tools or complex disassembly. These fittings assure a tight seal while allowing for quick changes, saving you time during setup or reconfiguration. Employing standardized connectors, such as threaded or push-fit joints, helps maintain compatibility across different sections. Additionally, incorporating modular valves and ports lets you control airflow precisely and access specific areas easily. When designing your system, consider using flexible tubing with secure coupling options to prevent leaks and simplify maintenance. Incorporating natural materials like rubber or silicone connectors can also enhance durability and flexibility. With these techniques, your vacuum line setup becomes adaptable, reducing downtime and making future adjustments straightforward.
Removable Section Benefits
Have you ever needed to quickly reconfigure your vacuum system? Removable sections make this easy. With modular parts, you can swap out or remove sections without disassembling the entire setup. This flexibility allows you to adapt your vacuum lines for different tasks or access hard-to-reach areas quickly. When cleaning or maintaining, you can detach a section and work more efficiently. Removable components also simplify troubleshooting—pinpoint issues faster and replace faulty parts on the spot. Plus, storage becomes more convenient: you can break down your system into smaller pieces, saving space. Incorporating efficient setup features ensures your vacuum system remains user-friendly and adaptable from day one. Overall, incorporating removable sections saves time, reduces hassle, and keeps your vacuum system versatile and user-friendly from day one.
Using Standardized Fittings for Simplified Disassembly
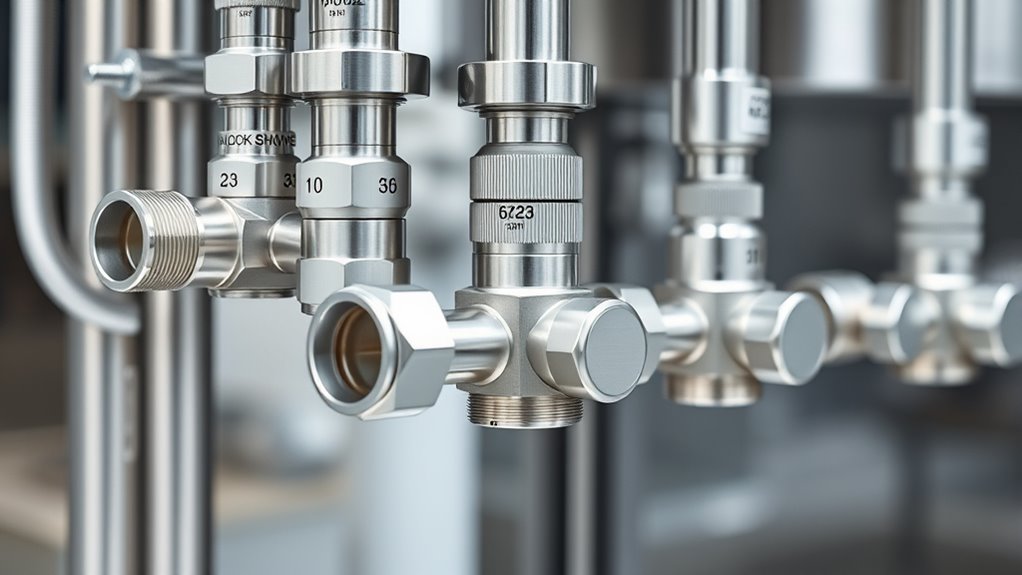
Using standardized fittings makes disassembling vacuum lines and ports much easier and faster. When you use consistent fittings, you eliminate confusion and reduce the risk of damaging components during removal. Standard fittings also allow quick swaps and repairs, saving you time and effort. To maximize these benefits, choose fittings compatible with common sizes and brands. Here’s a quick comparison:
| Fitting Type | Advantage |
|---|---|
| Quick-Connect | Fast disassembly and reconnection |
| Threaded Fittings | Secure, reusable, and versatile |
| Push-to-Connect | Easy to install and remove |
Implementing Clear and Visible Labeling Systems
You should use color-coded line identification to quickly distinguish vacuum lines at a glance. Choosing durable label materials guarantees labels stay clear despite harsh conditions. Consistent label placement helps everyone easily locate and understand connections, reducing mistakes. Implementing clear labeling systems can also prevent errors during maintenance and troubleshooting.
Color-Coded Line Identification
Implementing a clear and visible color-coded labeling system for vacuum lines and ports considerably enhances safety and efficiency. By assigning specific colors to different lines, you reduce the risk of misconnection and streamline maintenance. Consistent color schemes help you quickly identify functions and connections at a glance, saving time and preventing errors. Use distinct colors for critical lines, such as red for high-pressure or hazardous lines, and green for standard vacuum lines. To maximize clarity, pair colors with labels for added precision. Here’s a simple reference:
| Color | Line Function |
|---|---|
| Red | High-pressure lines |
| Blue | Standard vacuum lines |
| Yellow | Auxiliary or drain lines |
This system simplifies troubleshooting and keeps your workspace safe and organized. Incorporating visual aids like color-coded labels can further improve understanding and reduce errors in complex setups.
Durable Label Materials
Choosing the right material for vacuum line labels is essential to guarantee they stay legible and intact under demanding conditions. You want labels that resist chemicals, moisture, and abrasions, especially in busy lab environments. Polyester and vinyl are excellent options because they’re durable, flexible, and resistant to tearing. These materials can withstand cleaning agents and frequent handling without fading or peeling. Clear adhesives ensure the labels stick securely without damaging surfaces when removed. For added longevity, consider lamination or coating the labels with a protective layer. Using high-quality, durable label materials guarantees your labels remain visible and functional over time, simplifying maintenance and reducing the need for frequent replacements. Properly chosen labels save you time and keep your system organized and easy to identify. Additionally, selecting materials with high chemical resistance helps ensure labels maintain their integrity when exposed to various cleaning solutions and environmental factors.
Consistent Label Placement
Consistent label placement is essential for maintaining an organized and easily navigable vacuum system. When labels are placed uniformly, you’ll quickly find the right ports and lines, saving time during maintenance or troubleshooting. Choose a standard location for labels—either near the inlet or on the side—and stick to it. Use clear, legible fonts and contrasting colors to enhance visibility. Avoid placing labels in hard-to-see spots or covering them with other components. Regularly check and update labels to ensure they remain visible and accurate. Consistency in placement reduces confusion and helps everyone who interacts with the system understand it immediately. Implementing a standardized labeling system from the start keeps your vacuum lines neat, accessible, and easy to maintain over time. High critical acclaim and box office success are often indicators of well-designed and user-friendly anime movies, emphasizing the importance of clarity and consistency in visual communication.
Planning for Regular Maintenance and Cleaning Intervals
Regular maintenance and cleaning of vacuum lines and ports are essential to guarantee ideal performance and prevent costly repairs. You should establish a routine schedule based on your system’s usage and environment. For example, more frequent cleaning may be necessary in dusty or high-traffic areas. Keep track of when inspections and cleanings are done to avoid neglect. Use clear guidelines to determine when components need servicing—such as visible buildup or reduced airflow. Incorporate easy access points during installation to simplify the process. Consistently scheduled maintenance ensures you catch potential issues early, prolongs system lifespan, and maintains optimal efficiency. Planning ahead allows you to allocate time and resources, making regular upkeep a manageable part of your system’s operation.
Testing and Optimizing the System for Ease of Servicing
To guarantee your vacuum system remains easy to service, you should regularly test its accessibility and performance. Check that all ports and lines are reachable without disassembly, and verify that vacuum pressure remains consistent. Testing helps identify blockages or leaks early, saving time and effort later. Use the table below to evaluate key aspects of your setup:
| Aspect | Test Method | Optimization Tips |
|---|---|---|
| Accessibility | Visual inspection and reachability | Use quick-release fittings |
| Leak detection | Soap solution or electronic tester | Seal joints tightly, replace worn parts |
| Vacuum pressure stability | Monitor with gauge | Install shut-off valves for isolation |
| Port cleanliness | Regular cleaning | Design for easy access and cleaning |
| System performance | Run calibration checks | Maintain unobstructed lines |
Frequently Asked Questions
How Can I Ensure Compatibility Between Different Vacuum Line Components?
To guarantee compatibility between different vacuum line components, you should check their sizes and connection types first. Measure the diameter of hoses and ports accurately, then verify that fittings match those measurements. Use adapters if needed, and stick to components from the same manufacturer or those explicitly designed to work together. Testing connections before final installation guarantees a secure fit, preventing leaks and ensuring ideal performance.
What Are the Best Practices for Sealing Vacuum Ports Against Leaks?
Think of sealing vacuum ports like sealing a treasure chest. You want a tight, secure fit to keep leaks out. Use high-quality gaskets or O-rings and make certain they sit evenly without twists. Apply a suitable sealant around the edges if needed, then tighten fittings snugly but not overly tight. Regularly inspect and replace worn seals to maintain a leak-proof system. This way, your setup stays airtight and efficient.
How Do I Choose the Right Size and Diameter for Vacuum Lines?
You should select vacuum lines with a diameter that matches your system’s port sizes to guarantee a secure fit and ideal airflow. Measure the existing ports accurately using calipers or a ruler, then choose hoses slightly larger for flexibility or exactly fitted for a snug seal. Consider the vacuum’s pressure requirements; thicker lines handle higher pressures better, preventing leaks and maintaining efficient performance.
What Common Mistakes Should I Avoid During Installation for Easy Maintenance?
You’ll want to avoid cramming oversized hoses into tiny ports or squeezing tight bends that make cleaning a nightmare. Don’t forget to secure all connections tightly—loose fittings turn your maintenance routine into a game of hide-and-seek. Skipping regular inspections? A rookie mistake. Keep your lines accessible and labeled, and you’ll dodge the dreaded “Where did that clog come from?” surprise. Easy maintenance starts with smart, deliberate installation.
How Can I Future-Proof My Vacuum System for Upgrades or Expansions?
To future-proof your vacuum system, plan for scalability by leaving extra ports and flexible connections. Use modular components that are easy to upgrade or replace without major overhauls. Incorporate accessible access points and clear labeling for easy maintenance. Choose high-quality materials that withstand wear and tear, and stay updated on new technology trends. By thinking ahead, you’ll save time and money when expanding or upgrading your system down the line.
Conclusion
By designing your vacuum lines and ports with accessibility in mind, you’ll transform maintenance from a tedious chore into a breeze—like opening a magic portal to instant cleaning paradise. Imagine never struggling with stubborn clogs or disassembly nightmares again, instead effortlessly gliding through routine upkeep in seconds. With these smart strategies, you’ll create a system so easy to clean and maintain, it’ll feel like you’ve built a futuristic, maintenance-free masterpiece—your ultimate cleaning triumph!