
To lower total alkalinity safely, you should add acid gradually in small increments while monitoring water chemistry closely. Use a reliable test kit to check alkalinity after each addition, and gently aerate the water to help release CO₂ and stabilize pH. Combining controlled acid adjustments with aeration prevents sudden changes and keeps your water balanced. Keep track of your actions to avoid overcorrecting—continue exploring these techniques for ideal results.
Key Takeaways
- Add acid gradually in small increments, testing alkalinity after each to avoid overcorrection.
- Use aeration during and after acid addition to promote off-gassing of CO₂ and stabilize water chemistry.
- Ensure proper water mixing and wait at least 30 minutes between tests for accurate readings.
- Combine controlled acid dosing with aeration to safely lower alkalinity without stressing aquatic life.
- Record all adjustments and test results to maintain consistent, balanced water chemistry over time.
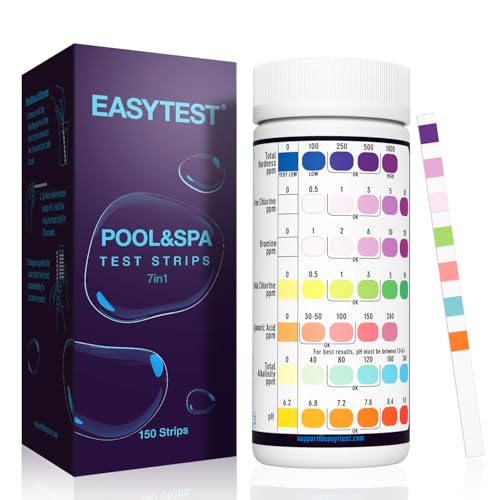
EASYTEST 7-Way Pool Test Strips, 150 Strips Water Chemical Testing for Hot tub and Spa, Accurate Test Bromine, Total Alkalinity, pH, Free Chlorine, Total Hardness, Cyanuric Acid, and Total Chlorine
AFFORDABLE 150 STRIPS: This water chemical testing kit contains 150 test strips. Enough balanced for your swimming pool,…
As an affiliate, we earn on qualifying purchases.
As an affiliate, we earn on qualifying purchases.
Understanding Total Alkalinity and Its Importance
Have you ever wondered why maintaining the right total alkalinity level is essential for your water quality? Total alkalinity measures how well your water can resist pH changes, acting as a buffer against sudden shifts. When alkalinity is too high, it can lead to cloudy water, scaling, and difficulty balancing other chemicals. Conversely, low alkalinity makes your water prone to rapid pH swings, which can harm your pool equipment and irritate swimmers. Understanding alkalinity helps you control water stability, ensuring safe, clear, and comfortable water. Regular testing allows you to monitor levels and make adjustments before problems arise. Maintaining proper alkalinity supports overall water balance, prevents corrosion or scaling, and keeps your pool or spa functioning smoothly. Proper water chemistry management is key to a healthy swimming environment.

CPDI Champion 4-Pack Acidblue Muriatic Acid for Swimming Pools & Spas, 1 Gallon Each – Low-Fume pH Stabilizer & Cleaner for Concrete & Masonry Surfaces, Clears Rust & Scale Build-Up
Vapor Reduction Technology: Reduces noxious fumes by up to 90%, AcidBlue’s VRT ensures a safer, more comfortable experience…
As an affiliate, we earn on qualifying purchases.
As an affiliate, we earn on qualifying purchases.
Signs That Your Alkalinity Is Too High
High alkalinity levels can often be spotted through specific signs in your pool or spa. You might notice cloudy water, difficulty maintaining pH balance, or scaling on surfaces and equipment. These issues indicate your alkalinity may be too high. To help identify the problem, check for the following signs:
| Symptom | Effect on Water | Possible Cause |
|---|---|---|
| Cloudy water | Reduced clarity | Excess alkalinity |
| Scaling on surfaces | White deposits | High mineral concentration |
| pH drift | Instability in pH levels | Elevated alkalinity |
| Reduced sanitizer efficiency | Increased algae risk | Imbalanced water chemistry |
| Skin or eye irritation | Discomfort during swimming | Chemical imbalance |
Monitoring these signs helps you decide when to take action to lower alkalinity safely. Additionally, using proper acid treatments can help control alkalinity levels without damaging your pool equipment.

MAV AquaDoc pH Down for Pools – 5lb – Sodium Bisulfate pH Decreaser for Pool & Alkalinity Decreaser – Easy Dissolving Dry Acid Pool Chemicals Made in the USA
Lowers High pH & Alkalinity – AquaDoc pH Reducer for pool reduces high pH and alkalinity to maintain…
As an affiliate, we earn on qualifying purchases.
As an affiliate, we earn on qualifying purchases.
Selecting the Right Acid for Lowering Alkalinity
When you need to lower your pool’s alkalinity, choosing the right acid is essential for safe and effective results. The most common options are muriatic acid (hydrochloric acid) and sodium bisulfate (dry acid). Muriatic acid is powerful and works quickly, but it requires careful handling and proper dilution. Sodium bisulfate is easier to measure and safer to handle, making it ideal for DIY adjustments. Your choice depends on your comfort level, equipment, and pool size. Always measure the acid carefully and add it slowly to avoid damaging the pool surface or equipment. Properly understanding alkalinity levels and follow manufacturer instructions closely and wear protective gear to ensure safe application. Whichever you choose, follow manufacturer instructions closely and wear protective gear to ensure safe application. Proper selection and handling guarantee effective alkalinity reduction without risking damage or safety hazards.

HQUA PAS20 Pond & Lake Aeration System for Up to 3 Acre, 3/4 HP Compressor + Two 100' Weighted Tubing + 2 Diffusers
Function: Compressed air blows into the bottom of the pond, increase the dissolved oxygen rate in ponds.Keeps water…
As an affiliate, we earn on qualifying purchases.
As an affiliate, we earn on qualifying purchases.
Preparing Your Pool or Spa for Acid Treatment
Before applying acid, you need to check your water chemistry to guarantee it’s within safe ranges. Make sure to remove any debris and dirt from the pool or spa surface so the acid can work effectively. Once your water is balanced and the area is clear, you’re ready for the treatment. Ensuring proper water chemistry is essential for safe and effective acid adjustment.
Check Water Chemistry
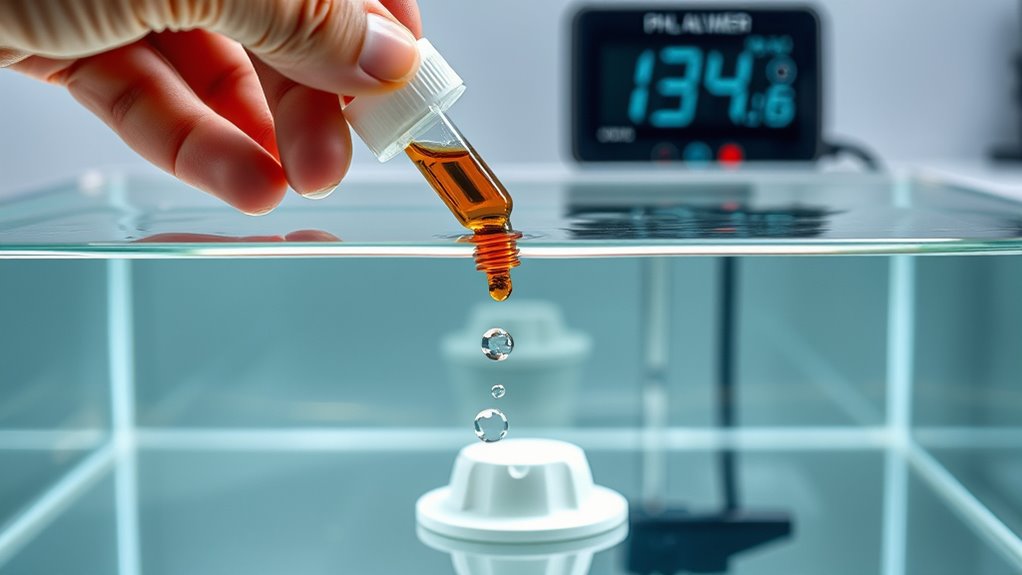
Before applying acid to lower total alkalinity, it’s vital to check your water chemistry to guarantee proper treatment. Use a reliable test kit or strips to measure pH, alkalinity, and calcium hardness levels. Confirm your pH is within the ideal range of 7.2 to 7.6, and alkalinity is above 80 ppm but below 120 ppm, so the acid reacts effectively. Record your readings and verify that calcium hardness is balanced, ideally between 200 and 400 ppm, to prevent scale formation. If your levels fall outside these ranges, adjust them before adding acid. Properly evaluating your water chemistry helps you target the correct amount of acid, minimizes risks, and ensures your pool or spa responds predictably to alkalinity adjustments. Additionally, understanding your water treatment options can help you choose the most effective methods for maintaining optimal water balance.
Clear Debris First
Ensuring your pool or spa is free of debris sets the stage for effective acid treatment. Leaves, dirt, and other debris can interfere with the chemical process, leading to uneven pH adjustment. Use a pool net or skimmer to remove floating debris, and brush the sides and bottom to dislodge settled particles. Vacuum the pool floor if necessary, especially in hard-to-reach corners. Clear water allows the acid to mix thoroughly and work uniformly, preventing spots of uneven alkalinity reduction. Additionally, removing debris minimizes the risk of clogging filters or damaging equipment during treatment. Taking this simple step ensures your acid lowering process is safe, efficient, and yields predictable results. Always prioritize a clean, debris-free environment before making chemical adjustments. Proper filtration systems help maintain water clarity and protect your equipment during chemical treatments.
Step-by-Step Process for Controlled Acid Addition
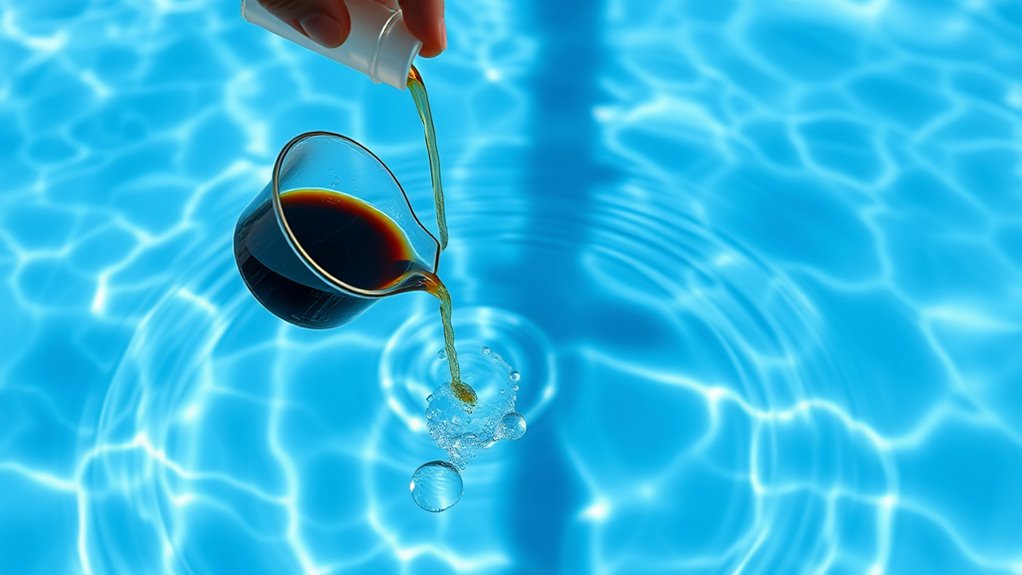
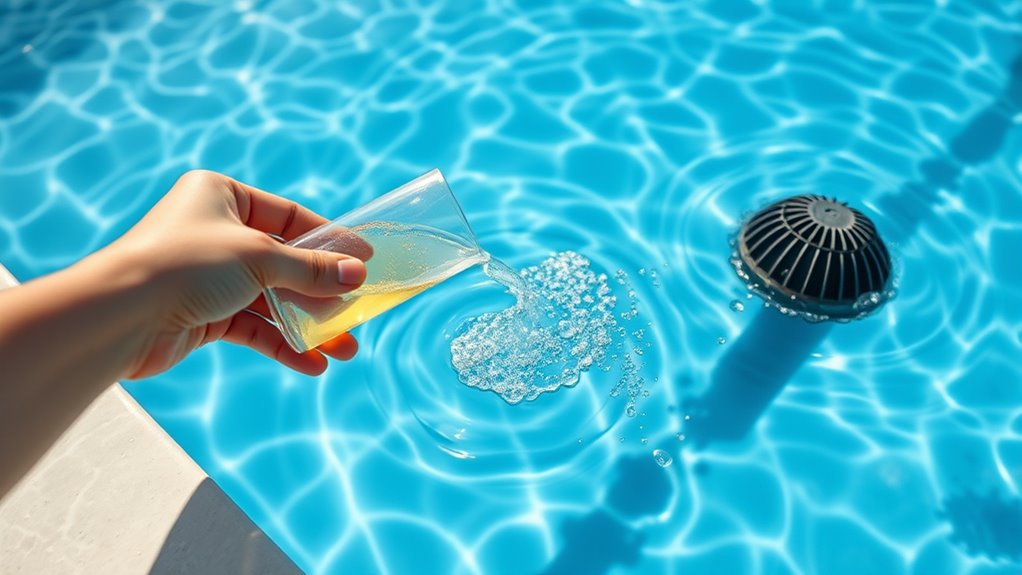
To effectively lower total alkalinity, you need to add acid gradually and carefully monitor the water’s response. Start by determining the correct amount of acid based on your pool’s chemistry. Always add acid in small increments, such as 10-20 ppm of alkalinity reduction at a time. Use a accurate test kit to measure alkalinity after each addition. Stir the water gently to ensure even distribution. Wait at least 30 minutes to see the full effect before testing again. Keep records of how much acid you add and the resulting alkalinity levels. This method prevents overcorrection and helps you reach your target safely. Additionally, avoid adding acid directly to the skimmer to prevent damage to your pool’s equipment, and consider using a pH meter for more precise measurements.
The Role of Aeration in Lowering Alkalinity
Aeration helps release excess carbon dioxide from your water, which directly lowers its alkalinity. As CO₂ escapes, water quality improves, making the environment healthier for aquatic life. This natural process aligns with the principles of maintaining a balanced water chemistry, which is essential for safe and effective water treatment. This process supports a more effective reduction in alkalinity levels, contributing to better overall water balance.
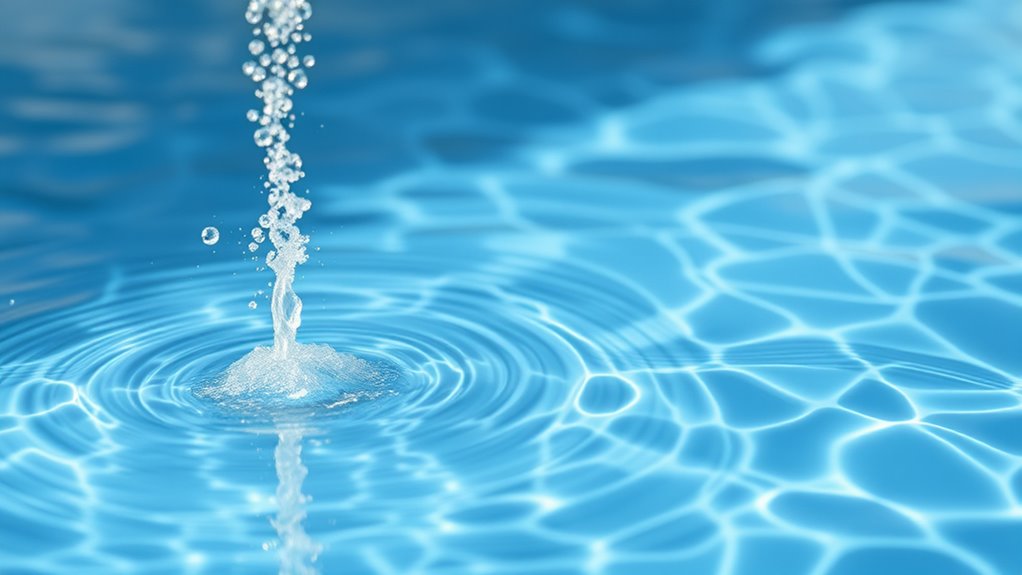
Enhances Carbon Dioxide Release
When aeration occurs, it encourages carbon dioxide (CO₂) to escape from the water, which directly lowers alkalinity. As CO₂ leaves, the water’s carbonic acid decreases, reducing its buffering capacity. This process speeds up the reduction of alkalinity, making it easier to achieve desired levels safely. Effective aeration ensures a continuous exchange of gases, preventing CO₂ from re-dissolving. It also helps stabilize pH levels during the process. Proper aeration techniques maximize CO₂ removal, contributing to more predictable and controlled alkalinity reduction. You should monitor your water closely to avoid excessive pH swings. Using aeration in combination with controlled acid addition creates an efficient, safe method to lower alkalinity without stressing aquatic life. Proper aeration can also help prevent gas build-up which can cause destabilization of water chemistry.
Improves Water Quality
Improving water quality is a key benefit of aeration when lowering alkalinity because it helps create a healthier aquatic environment. Aeration increases oxygen levels in the water, which supports beneficial bacteria that break down organic matter and reduce harmful pollutants. This process enhances water clarity and reduces odors caused by stagnant conditions. Additionally, aeration helps prevent the buildup of toxins that can harm aquatic life and compromise water safety. By promoting consistent oxygen distribution, it encourages the growth of healthy aquatic plants and beneficial microorganisms, contributing to a balanced ecosystem. Integration of AI in water management is also being explored to optimize aeration processes and monitor water quality in real-time. Overall, aeration not only aids in alkalinity reduction but also elevates water quality, making your pond or aquatic system more vibrant, safer, and more sustainable.
Supports Alkalinity Reduction
Supporting alkalinity reduction relies heavily on how aeration influences the chemical balance of your water. When you aerate, you introduce oxygen, which promotes the release of carbon dioxide. This process reduces carbonic acid levels, leading to a rise in pH and a decrease in alkalinity. Proper aeration helps stabilize pH levels and prevents sudden fluctuations that can harm aquatic life. It also encourages the off-gassing of dissolved gases, aiding in the overall reduction of alkalinity. To maximize results, guarantee your aeration system is effective and consistent. Remember, combining aeration with controlled acid addition offers a safer, more efficient way to lower alkalinity without stressing your water system.
- Increases oxygen levels for better water quality
- Promotes off-gassing of carbon dioxide
- Stabilizes pH and reduces alkalinity
Monitoring and Adjusting Water Chemistry Safely

Monitoring and adjusting water chemistry safely is essential to maintaining a healthy aquatic environment. Regular testing helps you track pH, alkalinity, and other crucial parameters, making certain your water remains within safe ranges. Use reliable test kits or digital meters to get accurate readings. When making adjustments, proceed gradually—adding small amounts of acid or aerating incrementally—so you don’t shock your ecosystem. Always follow manufacturer instructions and avoid overshooting target levels. Keep records of your tests and changes to identify trends and prevent sudden fluctuations. If you notice unexpected shifts, pause adjustments and investigate potential causes. Maintaining steady, controlled modifications helps protect aquatic life and ensures your water chemistry stays balanced and stable over time.
Tips for Maintaining Balanced Alkalinity Long-Term
Maintaining balanced alkalinity over the long term requires consistent effort and proactive management. Regular testing helps you catch fluctuations early and adjust accordingly. Keep an eye on pH and alkalinity levels, and make small adjustments as needed to prevent swings. Use proper dosing of alkalinity increasers or reducers to keep levels steady. Aerate your water regularly to promote gas exchange, which stabilizes alkalinity. Additionally, monitor other water parameters like calcium and stabilizer levels, as they influence alkalinity balance. Establish a routine testing schedule and stick to it, so issues don’t develop unnoticed. By staying vigilant and making incremental adjustments, you’ll maintain a healthy, stable water chemistry that supports a safe and balanced aquatic environment.
- Regular testing and monitoring
- Consistent, small adjustments
- Routine aeration and water circulation
Frequently Asked Questions
How Often Should I Perform Alkalinity Reduction Treatments?
You should perform alkalinity reduction treatments only when necessary, typically every few weeks or as recommended by testing your water regularly. Start by testing your alkalinity levels, and if they’re above the ideal range, apply controlled acid and aerate to lower them gradually. Don’t overdo it, as frequent treatments can cause water chemistry issues. Always monitor your levels closely and adjust your treatment schedule accordingly to keep your water balanced.
Can Lowering Alkalinity Affect My Pool’s Ph Stability?
Yes, lowering alkalinity can affect your pool’s pH stability. When you reduce alkalinity, your pH may become more volatile and prone to swings. That’s because alkalinity acts as a buffer, helping maintain consistent pH levels. After lowering alkalinity, you might need to regularly monitor and adjust your pH to keep it balanced. Proper aeration and controlled acid use guarantee you maintain both alkalinity and pH stability effectively.
What Safety Precautions Are Essential During Acid Addition?
You should always wear protective gear like gloves and goggles when adding acid to your pool to prevent burns or injury. Pour acid slowly and carefully, avoiding splashes or spills. Make sure the area is well-ventilated, and never add acid directly into the pool without diluting it first. Keep a neutralizing agent nearby in case of accidental spills, and never mix acids with other chemicals to prevent dangerous reactions.
How Long Should I Aerate After Acid Treatment?
Think of it like brewing a fine tea—you need to let it steep just right. After adding acid, you should aerate your pool for about 24 to 48 hours. This allows the pH and alkalinity levels to stabilize and guarantees the acid’s effects are evenly distributed. Keep an eye on your test results during this period, and make adjustments as needed to maintain balanced, healthy water.
Are There Alternative Methods to Lower Alkalinity Without Acid?
Yes, you can lower alkalinity without acid by reducing the source of alkalinity, like limiting bicarbonate-rich water or using reverse osmosis systems. Additionally, you can dilute your pool water with fresh, low-alkalinity water, but this takes time and large volumes. Keep in mind, these methods are slower and less precise than using acid, so monitor your water chemistry regularly to avoid imbalances.
Conclusion
By understanding how to safely lower your alkalinity with controlled acid addition and aeration, you can keep your pool or spa balanced and inviting. Regular monitoring and proper techniques help prevent issues and maintain clear, healthy water. Are you ready to take control of your water chemistry and enjoy a perfectly balanced swim? With these simple steps, you’ll guarantee your water stays sparkling and safe all season long.