
To track down air leaks in your pump basket, start with a visual inspection for cracks or damage. Use a soap solution on seals, gaskets, and joints—bubbles will reveal escaping air. Turn off the pump and test individual components for leaks. Carefully replace or tighten damaged parts. Following these steps helps you identify and fix leaks efficiently. If you want to master the full process, more tips are just ahead.
Key Takeaways
- Recognize signs like bubbles, reduced flow, gurgling sounds, and longer pump run times indicating potential air leaks.
- Safely turn off the pump, drain water, and prepare tools including soapy water, flashlight, and leak detectors for inspection.
- Visually inspect the pump basket for cracks, damage, or irregularities, using light or magnification to detect small leaks.
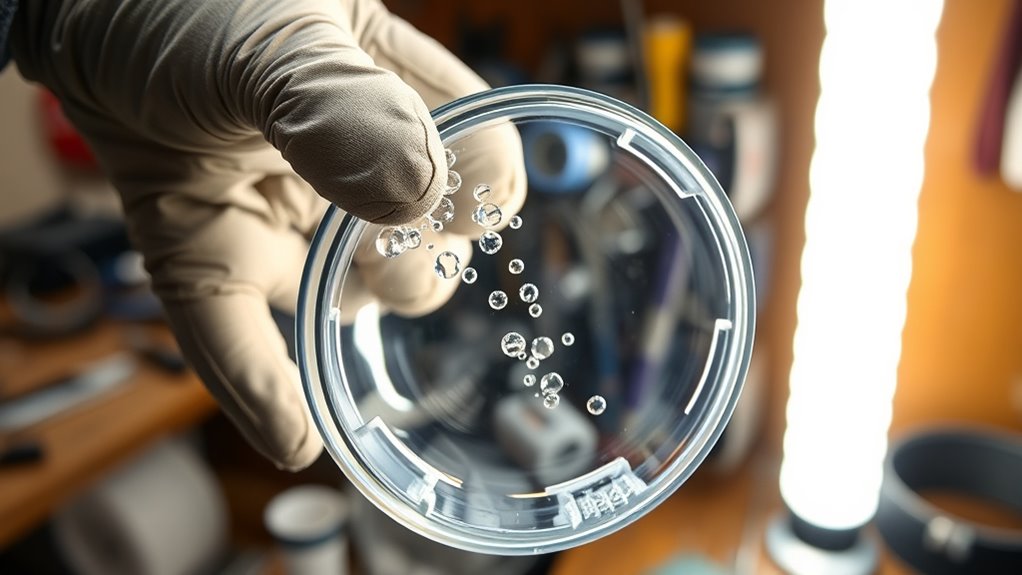
- Apply a soap solution to seals, joints, and connections, then watch for bubbles that reveal escaping air.
- Isolate components like gaskets and valves, test individually, and replace damaged parts to restore proper sealing and prevent leaks.
Understanding the Signs of Air Leaks in Your Pump Basket
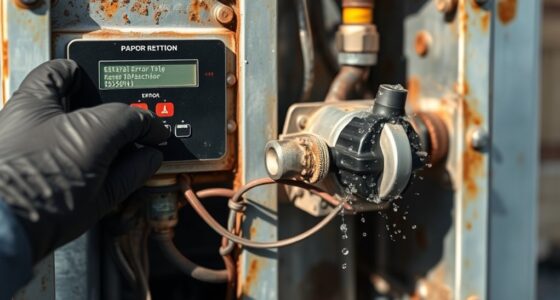
If you notice your pool’s pump isn’t functioning as efficiently as it used to, it could be a sign of an air leak in the pump basket. Common signs include the pump losing prime frequently, strange noises like gurgling sounds, or a visible decrease in water flow. You might also see bubbles rising in the skimmer or pump basket, which indicates air is entering the system. Another clue is the pump running longer than usual or struggling to maintain pressure. These signs point to air escaping into the pump basket, disrupting normal operation. Recognizing these symptoms early helps prevent further damage and keeps your pool running smoothly. Pay close attention to these indicators to catch leaks before they worsen. Additionally, understanding the importance of powerful persuasive words can help in communicating effectively with pool service professionals about the issue.
Gathering the Necessary Tools to Detect Leaks
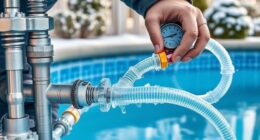
To effectively detect air leaks in your pump basket, you need to gather the right tools for the job. Start with a soapy water solution—mix dish soap with water in a spray bottle or bowl. A flashlight or good lighting is essential to spot tiny leaks in dark or hard-to-see areas. A mirror helps you examine tricky spots without moving the entire assembly. A pair of gloves and safety glasses keep you protected during inspection. If you want more precision, consider a leak detection kit that includes electronic sensors or ultrasonic leak detectors. Having these tools ready guarantees you can quickly identify and locate leaks, making your inspection more efficient and effective. Proper air purifier maintenance ensures optimal performance and longevity of your equipment. With the right gear, tracking down leaks becomes a straightforward process.
Safely Preparing Your Pump for Inspection
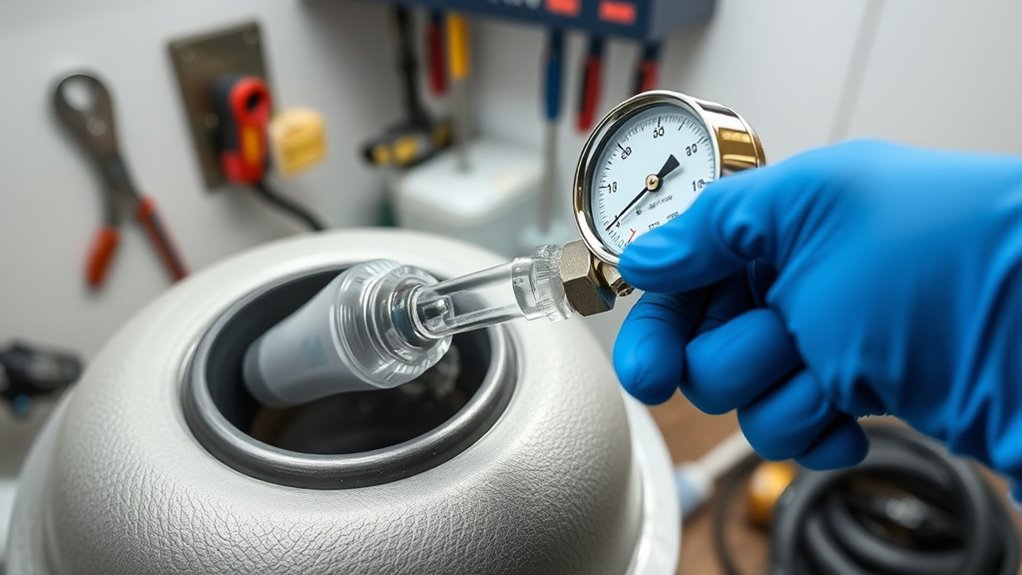
Before inspecting your pump, you need to guarantee it’s safely prepared to prevent accidents or damage. Turn off the pump and disconnect it from the power source to eliminate electrical hazards. Drain any remaining water from the pump basket to avoid spills or water damage during inspection. Wear protective gloves and eye gear to safeguard against debris or sharp edges. Ensure the area around the pump is clear of obstacles, so you can work safely. Check that the pump is stable and secure, preventing it from tipping or shifting. If your pump has a pressure or vacuum system, release any stored pressure according to the manufacturer’s instructions. Taking these safety steps helps protect you and preserves the integrity of your equipment during the inspection process. Additionally, understanding lifestyle habits can contribute to maintaining your equipment and workspace in optimal condition.
Performing a Visual Inspection for Visible Damage or Cracks
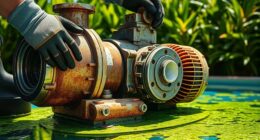
Begin by carefully examining the surface of the pump basket for any signs of cracks or fractures. Look closely at all areas to spot visible damage that could affect performance. If you notice any irregularities, take note, as they may require further inspection or repair. Additionally, inspecting for visible damage can help identify issues early before they lead to more serious problems.
Examine Pump Basket Surface
Have you ever wondered if your pump basket has any hidden damage? Start by carefully examining its surface. Look for obvious signs of wear, such as warping, dents, or deformities. Check for discoloration or areas where the material appears cracked or brittle. Run your fingers along the surface to feel for rough spots or irregularities that might indicate damage. Be thorough—inspect every inch of the basket’s exterior and interior if accessible. Keep an eye out for any deformities that could compromise its integrity. Even small surface imperfections can hint at underlying issues. A detailed visual check helps you spot potential problems early, preventing leaks or further damage down the line. Remember, a clean, intact surface is key to maintaining an efficient pump system. Regular inspections also allow for diversify investments, which can aid in managing risks associated with equipment failure.
Identify Cracks or Fractures
To effectively identify cracks or fractures in your pump basket, you need to perform a careful visual inspection. Begin by examining every surface closely, looking for any irregularities or lines that seem out of place. Pay special attention to the edges and corners, as these areas are more prone to damage. Use a bright light or magnifying glass to enhance visibility, making small cracks easier to spot. Look for signs of discoloration, chips, or fractures that might indicate structural weakness. Don’t rush; take your time to scrutinize every part of the basket thoroughly. Even tiny cracks can lead to leaks, so accuracy is key. Keep in mind that material fatigue can contribute to crack formation over time, so consider this when inspecting. If you notice any damage, it’s best to address it promptly to prevent further issues.
Check for Visible Damage
After inspecting for cracks or fractures, it’s important to look for any visible damage that might compromise the basket’s integrity. Carefully examine the entire surface for signs of wear or deformities.
- Check for dents or warping that could weaken the structure.
- Look for discoloration or corrosion, indicating material breakdown.
- Inspect welds and joints for signs of separation or stress marks.
- Consider the durability of the material, as it can influence the basket’s ability to withstand repeated use and prevent leaks.
Pay close attention to edges and corners, where damage often occurs. Use a strong light to highlight subtle cracks or fractures that might be hard to see in normal lighting. If you notice any of these issues, it’s best to replace or repair the basket before further testing. A thorough visual inspection helps prevent leaks caused by unseen damage.
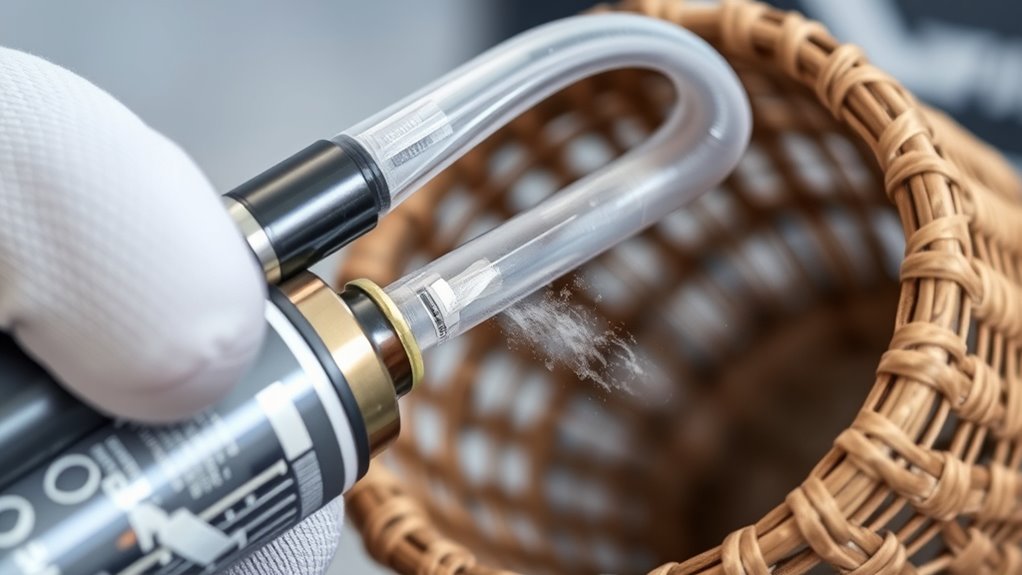
Using the Soap Solution Method to Identify Air Escapes

To find air leaks, you’ll start by preparing a soap solution with water and a few drops of dish soap. Then, carefully apply the mixture around the pump basket, paying close attention to suspect areas. As bubbles form, you’ll quickly spot and locate the leaks to address them effectively. Monitoring contrast ratio in your setup can also help in detecting subtle leaks that affect performance.
Preparing the Soap Solution
Before you begin the soap solution method, you’ll need to prepare a mixture that can effectively reveal air leaks. Start with a clean container and mix the following:
- One cup of warm water to help dissolve the soap thoroughly.
- Two tablespoons of liquid dish soap to create enough bubbles for spotting leaks.
- A splash of glycerin (optional) to stabilize bubbles and make them more visible.
Stir gently until the soap is fully dissolved. The mixture should be slightly soapy but not overly foamy. When ready, you’ll be able to apply it to the pump basket and watch for bubbling, which indicates escaping air. Keep the solution handy for quick application during the leak detection process. To ensure accurate results, perform the test in a calm environment free of wind or drafts.
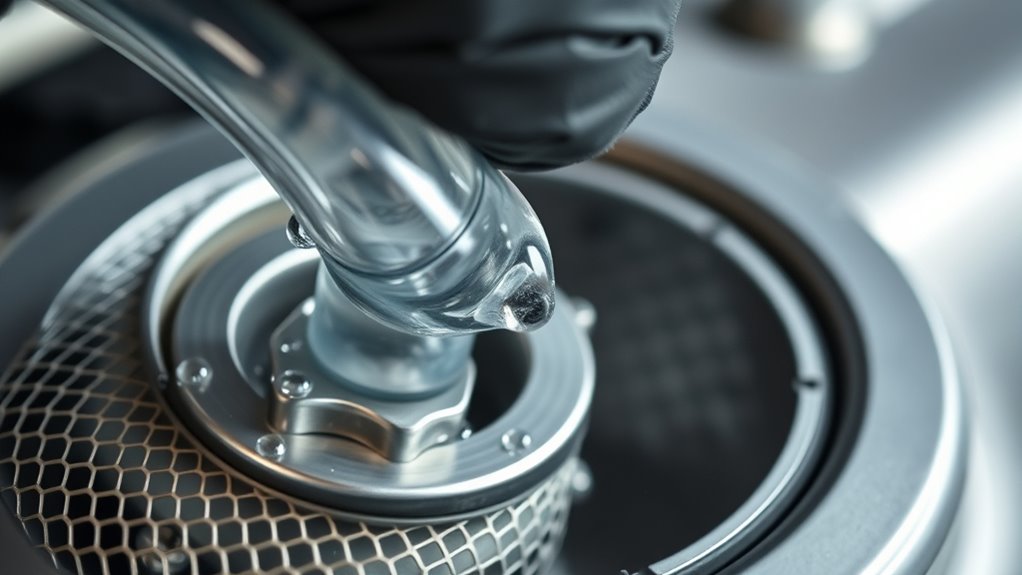
Applying the Mixture Properly
Once your soap solution is ready, carefully apply it to the pump basket where you suspect air leaks. Use a gentle brush or sponge to spread the mixture evenly around seals, joints, and crevices. Be thorough but avoid excess, as too much soap can obscure leaks. To improve accuracy, focus on areas prone to leaks, such as valve connections or gasket edges. Remember, the soap creates bubbles where air escapes. Here’s a quick guide:
| Area to Apply Soap | How to Apply | Signs of Leaks |
|---|---|---|
| Valve connections | Light brush | Bubbles forming |
| Gasket edges | Dab lightly | Persistent bubbles |
| Seals | Spray gently | Continuous bubbling |
| Joint fittings | Wipe smoothly | Sudden bubble appearance |
| Pump basket interior | Spread evenly | Rapid bubble formation |
Methodically applying soap ensures you catch even small leaks quickly. Additionally, understanding air leaks and their sources can help you prevent future issues.
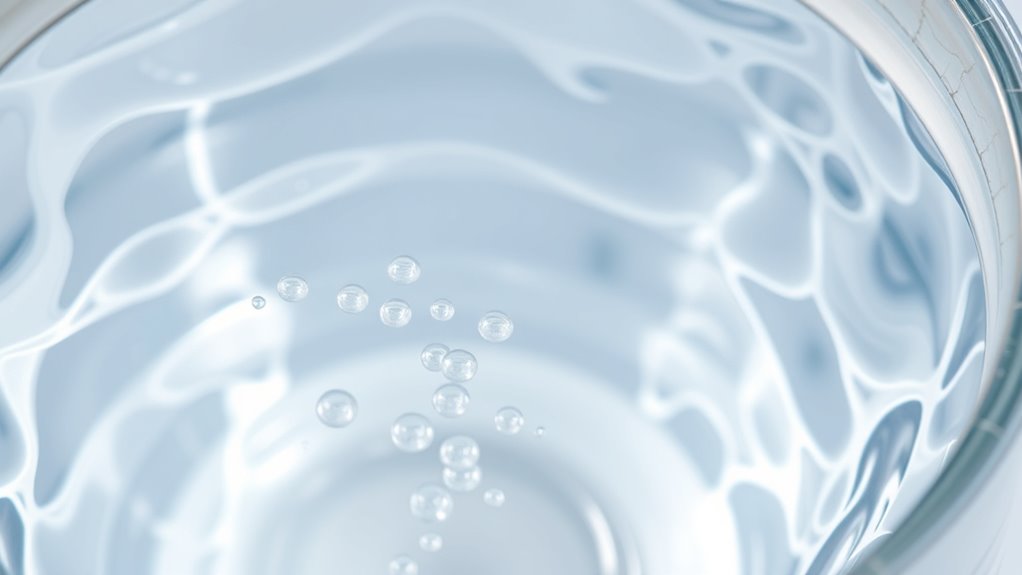
Detecting and Locating Leaks
Detecting air leaks with the soap solution is straightforward if you know where to look. First, prepare a mixture of dish soap and water, then spray or brush it onto the pump basket area. As you do this, you’ll watch for tiny bubbles forming—these indicate escaping air. To pinpoint the leak, focus on these spots:
- Around the gasket or seal where bubbles appear repeatedly.
- Near any cracks or gaps in the pump basket material.
- Along the joints or connections where parts meet and bubbles emerge.
Isolating and Testing Components to Find Hidden Leaks

To effectively find hidden leaks in your pump basket, you need to isolate and test individual components systematically. Start by shutting off the pump and removing the basket. Then, test each part—like seals, O-rings, and valves—one at a time. Use a soap solution or a leak detector to inspect for bubbles or escaping air. To stay organized, follow this simple testing approach:
| Component | Method | Signs of Leak |
|---|---|---|
| Basket Seal | Apply soap solution, observe | Bubbles forming |
| O-Ring | Submerge and press lightly | Air escaping around it |
| Drain Plug | Tighten securely, test again | Persistent bubbles |
Repairing or Replacing Damaged Parts to Seal the Leak
When you identify a damaged or faulty component causing the leak, repairing or replacing it promptly is essential to restore the pump’s seal. Start by carefully removing the affected part, such as a cracked O-ring, worn-out gasket, or damaged valve. Visualize this as:
Prompt damaged components promptly to restore the pump’s seal and prevent leaks.
- Removing the old, brittle gasket that no longer forms a tight seal.
- Swapping out a cracked valve that’s allowing air to escape.
- Installing a fresh O-ring, ensuring it seats properly in its groove.
Make sure to clean all surfaces thoroughly before installation. Use the correct tools to tighten fittings securely without over-tightening, which could cause further damage. Properly replacing these parts restores the integrity of your pump and prevents future leaks.
Frequently Asked Questions
Can Air Leaks in the Pump Basket Affect Pool Water Chemistry?
Yes, air leaks in the pump basket can affect your pool water chemistry. When air enters the system, it can cause low water pressure and reduce proper filtration, allowing contaminants to accumulate. This imbalance can lead to cloudy water, algae growth, and chemical inefficiency. To keep your water balanced and clear, you should promptly check for leaks, tighten fittings, and verify the pump basket is sealed correctly.
How Often Should I Inspect My Pump Basket for Leaks?
You should inspect your pump basket regularly—at least once a month—to prevent problems. During each check, look for leaks, cracks, or loose fittings that could cause air to seep in. Promptly tighten fittings, replace damaged parts, and clear debris to keep your pool’s pump performing perfectly. Consistent inspections save you time, money, and potential pool problems, ensuring your pool stays pristine and properly pressurized.
Are There Permanent Fixes for Recurring Air Leaks?
Yes, there are permanent fixes for recurring air leaks. You should replace worn or damaged O-rings and seals with high-quality, compatible parts to guarantee a tight seal. Additionally, consider upgrading to more durable components or using sealant designed for your pump type. Regular maintenance and inspection help catch issues early, preventing leaks from recurring. If leaks persist, consulting a professional for a thorough repair or part replacement is a good idea.
What Safety Precautions Should I Take During Pump Inspection?
When inspecting your pump, turn off the power and disconnect it to prevent accidental activation. Wear safety goggles and gloves to protect against debris or sharp edges. guarantee the area is well-ventilated, especially if you’re working with chemicals or parts that could release fumes. Use proper tools and handle components carefully to avoid injury. Always follow manufacturer instructions and safety guidelines to stay safe during the inspection process.
Can Using Certain Cleaning Products Cause Damage to the Pump Basket?
You might not realize it, but using the wrong cleaning products can damage your pump basket. Harsh chemicals or acidic cleaners can weaken the material, leading to cracks or leaks over time. Always check your manufacturer’s guidelines before cleaning, and opt for gentle, approved solutions. By doing so, you protect your equipment and save yourself costly repairs, ensuring your pool stays safe and sparkling for years to come.
Conclusion
Think of your pump basket as the heartbeat of your pool system. When you track down those elusive leaks, you’re like a detective uncovering hidden clues. With patience and the right tools, you can seal the leaks and restore smooth operation. Remember, each fix is a step toward a healthier, leak-free pool. Keep at it, and soon your system will run as quietly and confidently as a well-oiled machine.