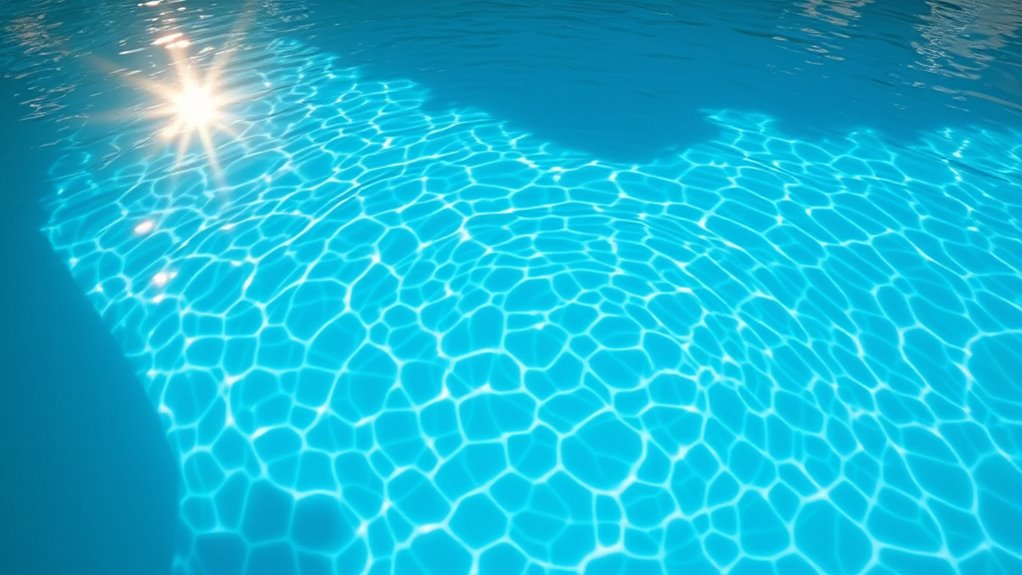
To capture that stunning Caribbean-blue pool shot, choose early morning or late afternoon for soft, warm light that enhances water color. Use a low ISO, narrow aperture, and polarizing filters to reduce glare and boost vibrancy. Find elevated angles or wekk-lit backgrounds that highlight the pool’s depth and hue. Experiment with water movement and post-processing techniques. Keep safety and equipment in mind, and you’ll create vibrant, inviting shots—more tips are just ahead to perfect your technique.
Key Takeaways
- Capture photos during early morning or late afternoon for soft, warm light that enhances water’s vibrant blue.
- Use polarizing filters and manual camera settings to reduce reflections and maximize water color clarity.
- Shoot from elevated angles or drone shots to showcase the pool’s true blue hue and inviting depth.
- Adjust white balance, saturation, and vibrancy in post-processing to emphasize Caribbean-blue tones.
- Incorporate tropical surroundings and props to complement and enhance the pool’s vibrant, paradise-like appearance.

K&F CONCEPT 52mm Clip-on CPL Phone Camera Lens Filter Kit, Circular Polarizer Polarizing Filter Compatible with iPhone 17 16 15 14 13 12 11
【Shoot Like A Pro DSLR】This clip-on CPL filter kit from K&F CONCEPT includes a K&F CONCEPT Nano-K series…
As an affiliate, we earn on qualifying purchases.
As an affiliate, we earn on qualifying purchases.
Choosing the Perfect Time of Day for Pool Shots

The time of day can make or break your pool photos, so choosing the right moment is essential. Early morning or late afternoon offers soft, warm light that enhances the water’s natural color and creates a calming atmosphere. During these times, the sun isn’t directly overhead, reducing harsh shadows and glare, making your pool look more inviting. Midday sunlight can cause overexposure and unwanted reflections, washing out vibrant colors. Overcast days can also work well, providing diffuse light that evenly illuminates the scene without harsh shadows. Pay attention to the sun’s position and weather forecast to plan your shoot for when lighting conditions are ideal. Embracing the importance of attention in your creative practice can help you better anticipate and utilize optimal lighting conditions, leading to more stunning pool photos. The right timing ensures your pool photos capture that stunning Caribbean-blue hue and a tranquil vibe.
drone for poolside shots
As an affiliate, we earn on qualifying purchases.
As an affiliate, we earn on qualifying purchases.
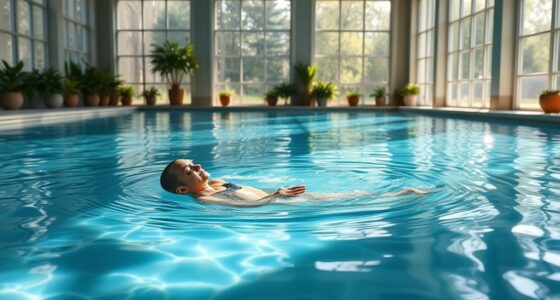
Understanding How Light Affects Water Color
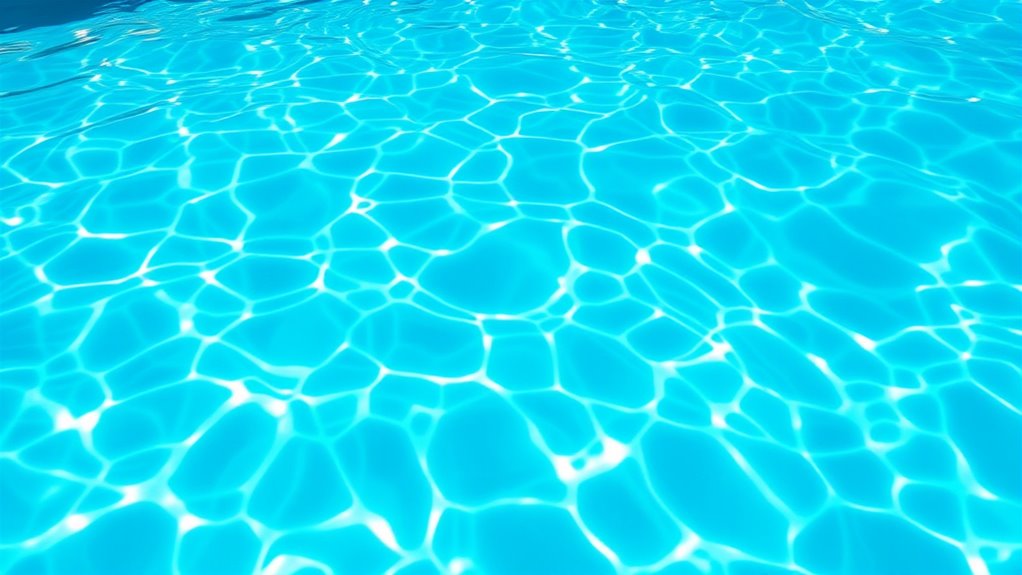
Lighting conditions have a direct impact on how water appears in your pool photos. Bright, natural sunlight enhances the pool’s vibrant blue, creating a more inviting look. On the other hand, cloudy or overcast days can dull the water’s color, making it look muted or grayish. The angle of the sun also matters—low sunlight during early morning or late afternoon produces softer, warmer tones. Conversely, midday sun creates sharper reflections and more intense blue hues. To maximize color, consider these factors:
- Direct sunlight boosts blue vibrancy
- Overcast skies soften and mute colors
- Low sun angles add warm, golden tones
- Bright midday sun intensifies reflections and color
- Understanding lighting conditions helps you control how water appears in your shots.

K&F CONCEPT 64 inch/163 cm Camera Tripod,Lightweight Travel Outdoor DSLR Tripods with 360 Degree Ball Head Load Capacity 17.6 lbs/8 kg,Cellphone Clip for Smartphone Live Streaming Vlog O234A1+BH-36
【Lightweight and Portable】4 section leg can adjust tripod height from 20.4''/52cm to 64.1''/163cm; it can be folded to…
As an affiliate, we earn on qualifying purchases.
As an affiliate, we earn on qualifying purchases.
Selecting the Right Camera Settings for Vibrant Blues
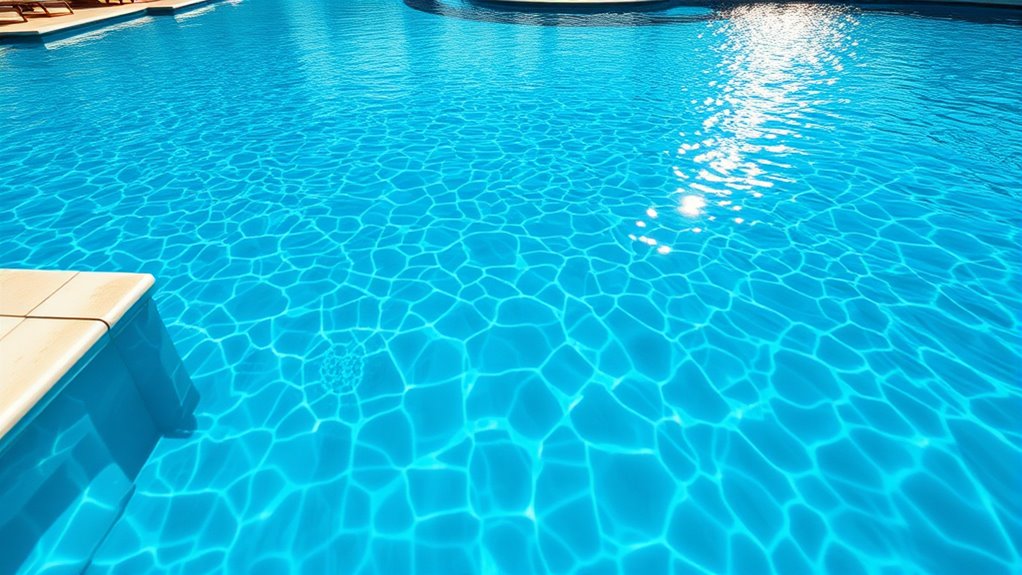
To capture water’s vibrant blue hues effectively, you need to optimize your camera settings intentionally. Start by setting your ISO low, around 100 or 200, to minimize noise and keep the colors crisp. Use a narrow aperture, like f/8 or f/11, to increase depth of field and sharpness across the water surface. Adjust your shutter speed to prevent overexposure—typically faster, around 1/500 or 1/1000 second, works well in bright conditions. Enable your camera’s manual mode to fine-tune these settings precisely. Remember, the goal is to let in enough light for brightness without washing out the color. Experiment with these adjustments, keeping an eye on the histogram, until you achieve that rich, Caribbean-blue look. Monitoring air quality indicators can help you understand optimal shooting conditions for clearer, more vibrant water photos.

4K Underwater Camera 16FT Waterproof Camera with 32GB Card 64MP Autofocus Dual-Screen Selfie Underwater Camera for Snorkeling Waterproof Compact Floatable Digital Camera 1250mAh Battery Type-C (Blue)
【4K UHD Waterproof Camera】 Experience the thrill of underwater exploration with our 4K waterproof camera. With a stunning…
As an affiliate, we earn on qualifying purchases.
As an affiliate, we earn on qualifying purchases.
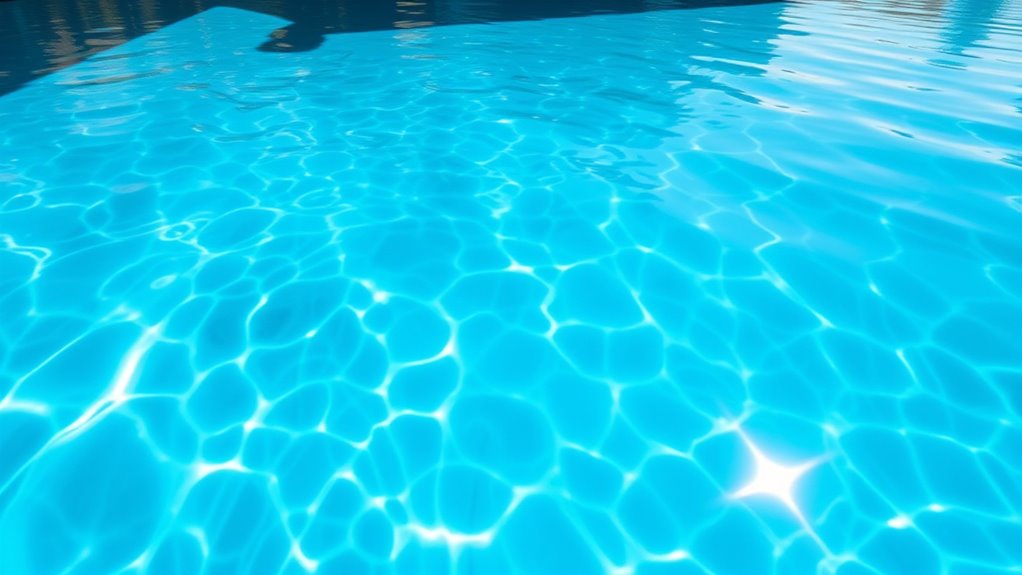
Using Polarizing Filters to Enhance Water Clarity

Using a polarizing filter can markedly improve water clarity in your pool photos. It reduces reflections and glare, allowing the true color of the water to shine through. To maximize its effect, rotate the filter until you see a noticeable decrease in surface reflections. This reveals the pool’s vibrant blue hue and makes the water appear crystal clear. Keep in mind: exfoliation benefits and the importance of proper camera settings for enhanced results. Use the filter in bright sunlight for the best glare reduction. Combine with proper camera settings for enhanced results. Avoid using the filter when reflections are desired, such as capturing swimmers or reflections on the water. A polarizing filter is a simple, effective tool that enhances water clarity, helping you achieve that stunning Caribbean-blue shot.
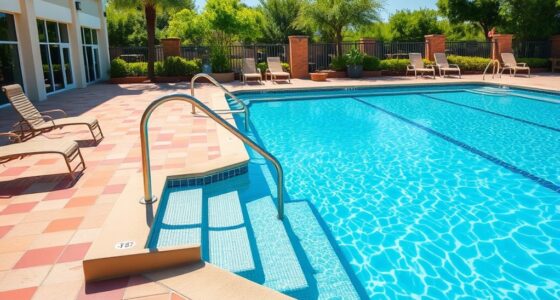
Finding the Best Angles to Capture the Pool’s Depth and Hue
To capture the pool’s depth and hue effectively, try shooting from elevated positions to add perspective. Incorporate wide-angle lenses to showcase the full scene and create a sense of space. Experiment with shadows and light to highlight the water’s color variations and add visual interest. For a more dynamic shot, consider adjusting your camera’s angle of view to emphasize the pool’s contours and surrounding environment.
Shoot From Elevated Positions
Ever wondered how to make your pool photos stand out? Shooting from elevated positions can dramatically enhance your shots by showcasing the pool’s depth and vibrant hue. Find a vantage point, such as a balcony, stairway, or drone, to capture a top-down view. This perspective emphasizes the crystal-clear water and creates dynamic compositions. To maximize your results, consider these tips:
- Use a ladder or elevated platform for close-up shots
- Capture from a balcony or rooftop for a broader view
- Incorporate surrounding scenery to add context
- Experiment with different heights to find the most flattering angle
Elevated shots add depth and drama, making your Caribbean-blue pool look irresistible. Just ensure your camera is stable and your angle highlights the water’s color and clarity.
Use Wide-Angle Lenses
Wide-angle lenses are essential tools for capturing the pool’s full depth and vibrant hue in a single shot. They allow you to include more of the scene, emphasizing the pool’s size and the surrounding environment. By using a wide-angle lens, you can creatively play with perspective, making the water appear more expansive and inviting. Position yourself close to the pool to exaggerate the depth, which enhances the Caribbean-blue color. Keep your camera steady and experiment with angles—shoot from a low or high vantage point to find the most flattering view. Remember, the goal is to showcase the pool’s stunning hue and sense of space, so don’t be afraid to get creative with your angles and distance. Additionally, choosing the right projector specifications can help you visualize and review your shots in high quality, further elevating your pool photography.
Play With Shadows and Light
Playing with shadows and light is one of the best ways to highlight your pool’s depth and vibrant hue. By adjusting your angle, you can create stunning contrast that emphasizes the water’s clarity. Look for sunlight filtering through trees or reflections off nearby surfaces to add dimension. Experiment with different times of day—early morning or late afternoon often produce softer, more dramatic shadows. To enhance your shot, consider these techniques:
- Position yourself so shadows fall across the water’s surface
- Use the sunlight’s angle to create reflections and highlights
- Capture silhouettes against the bright backdrop for contrast
- Play with the pool’s edges to frame shadows creatively
- Incorporate sustainable photography practices such as minimizing equipment and energy use to make your photography more eco-friendly
These tricks help reveal the pool’s true colors and depth, making your photos pop.
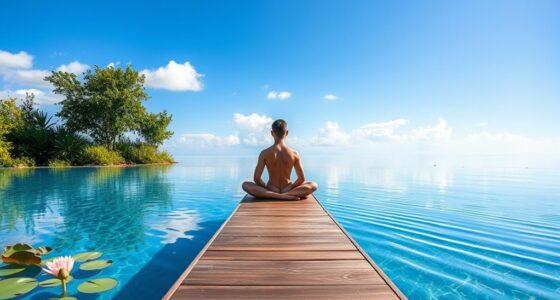
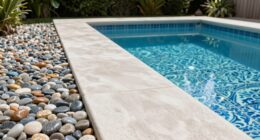
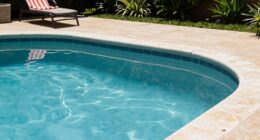
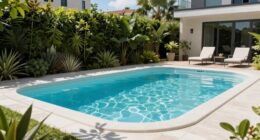
Incorporating Backgrounds and Surroundings for a Tropical Feel
To create a truly tropical atmosphere in your pool photos, you should thoughtfully incorporate backgrounds and surroundings that evoke a lush, exotic vibe. Choose vibrant greenery like palm trees, bamboo, or vibrant flowering plants to frame your shot. Position elements such as colorful umbrellas, woven loungers, or tiki torches nearby to add depth and visual interest. Incorporate natural materials like stone or wood to enhance the organic feel. Consider shooting during golden hour to warm up the scene and emphasize the tropical mood. Keep clutter to a minimum, focusing on elements that complement the Caribbean-blue water. Utilizing skin care techniques like applying eye patches can help you look refreshed and vibrant in your photos, especially after long days of outdoor activities. By carefully selecting and arranging these backgrounds and surroundings, you’ll transport viewers straight to a tropical paradise with every shot.
Editing Tips to Boost the Caribbean Blue in Post-Processing

After selecting the perfect background and surroundings for your tropical pool shots, enhancing the vibrant blue hues during editing can make your images truly stand out. Start by adjusting the white balance to emphasize the blue tones, giving the water a more tropical feel. Use selective color correction to boost blues while minimizing distracting colors. Increase vibrancy and saturation carefully to make the blue pop without oversaturating. Additionally, apply a slight clarity or sharpness boost to enhance the water’s texture. Incorporate color grading techniques to further refine the overall mood of the image, ensuring the Caribbean-blue water remains the focal point. Use HSL sliders to target and enhance blue tones. Reduce greens and yellows to eliminate color cast. Apply a subtle vignette to focus attention on the pool. Fine-tune contrast and brightness for a crisp, vivid look.
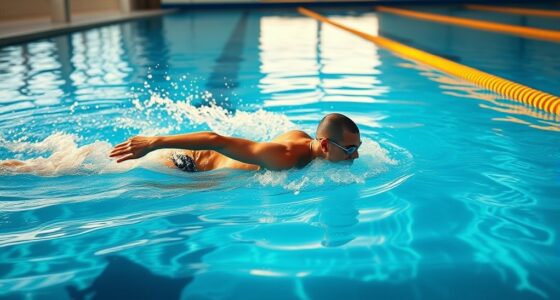
Tips for Shooting During Water Movement for Dynamic Shots

Capturing dynamic shots of water movement requires timing and camera settings that freeze or accentuate motion. To freeze splashes or ripples, use a fast shutter speed—around 1/1000 second or faster. This locks in sharp details during quick water movements. For a sense of flow and energy, try a slightly slower shutter speed, like 1/250 to 1/500 second, to create a subtle motion blur that emphasizes movement. Anticipate the water’s motion and press the shutter at the right moment for impactful shots. Use burst mode to increase your chances of capturing perfect action. Adjust ISO and aperture accordingly to maintain proper exposure at high shutter speeds. Practice timing and experiment with different settings to find the best balance between sharpness and motion.
Maintaining Equipment and Safety While Shooting Around Water

Shooting around water demands careful attention to both your equipment and personal safety. Water and electronics don’t mix well, so take precautions to safeguard your gear. Always use waterproof or weather-sealed cameras and lenses, or invest in protective covers. Keep your equipment dry and avoid submerging it intentionally. Be mindful of your surroundings—water can be slippery, so wear sturdy shoes and watch your footing. Additionally, consider these safety tips:
- Use a strap to secure your camera and prevent drops
- Keep a dry towel or cloth nearby for quick wipe-offs
- Avoid rushing near the pool to prevent slipping
- Be aware of water levels and avoid sudden splashes
- Remember to protect your gear with appropriate equipment to prevent damage from water exposure
Prioritize safety and proper equipment care to ensure smooth, successful shots without accidents.
Frequently Asked Questions
What Lens Types Are Best Suited for Pool Photography?
You should use a wide-angle lens, like a 24mm or 16-35mm, to capture expansive pool scenes and include more of the vibrant water and surroundings. A macro lens can help you focus on details like water droplets or reflections, while a standard 50mm lens is great for versatile shots. Keep in mind, a lens with a wide aperture (f/1.8 or lower) allows better low-light shots and beautiful background blur.
How Can I Prevent Reflections From Ruining My Shot?
Ever wondered how to keep reflections from ruining your shot? You should angle your camera to minimize direct reflections, perhaps by shooting at a slight tilt or from a higher vantage point. Use a polarizing filter to block unwanted glare and reflections from the water surface. Additionally, shoot during overcast days or early mornings when sunlight is softer, reducing harsh reflections and helping you capture that perfect Caribbean-blue shot.
What Accessories Can Improve Underwater Pool Shots?
To improve your underwater pool shots, consider using a waterproof housing for your camera to protect it from water damage. An underwater tripod or stabilizer helps steady your shots, while a wide-angle lens captures more of the scene. Additionally, using underwater lights enhances colors and reduces shadows, giving your photos that vibrant Caribbean-blue look. Remember to also carry extra batteries and waterproof memory cards for extended shooting sessions.
How Do Weather Conditions Influence Water Color and Clarity?
Sunny days brighten water, making it appear more vibrant and clear, while overcast skies can dull the color and reduce visibility. Wind stirs the surface, creating ripples that distort reflections and decrease clarity. Warm weather encourages algae growth, affecting water transparency. You’ll find that calm, sunny conditions produce the best shots, as they enhance water’s natural hue and clarity, allowing you to capture stunning, Caribbean-blue images effortlessly.
What Post-Processing Techniques Can Enhance Pool Water Vibrancy?
You can boost pool water vibrancy in post-processing by increasing saturation and vibrancy sliders to make the blues pop. Adjust contrast to deepen shadows and highlight reflections, enhancing clarity. Use selective editing tools to target water areas specifically, avoiding over-enhancement of surrounding elements. Sharpness adjustments can also bring out fine details, making the water appear crisper. Just remember to keep it natural for a stunning, vivid pool shot.
Conclusion
Now that you know all the secrets to capturing that stunning Caribbean blue, you might think it’s easy. Ironically, the more perfect your shot, the more you’ll realize how unpredictable water and light can be. So, embrace the challenge, stay patient, and enjoy the process—because chasing that ideal pool shot is as much about the journey as the vibrant hue you finally capture. Happy shooting, and may your photos always stay revitalizingly blue!