
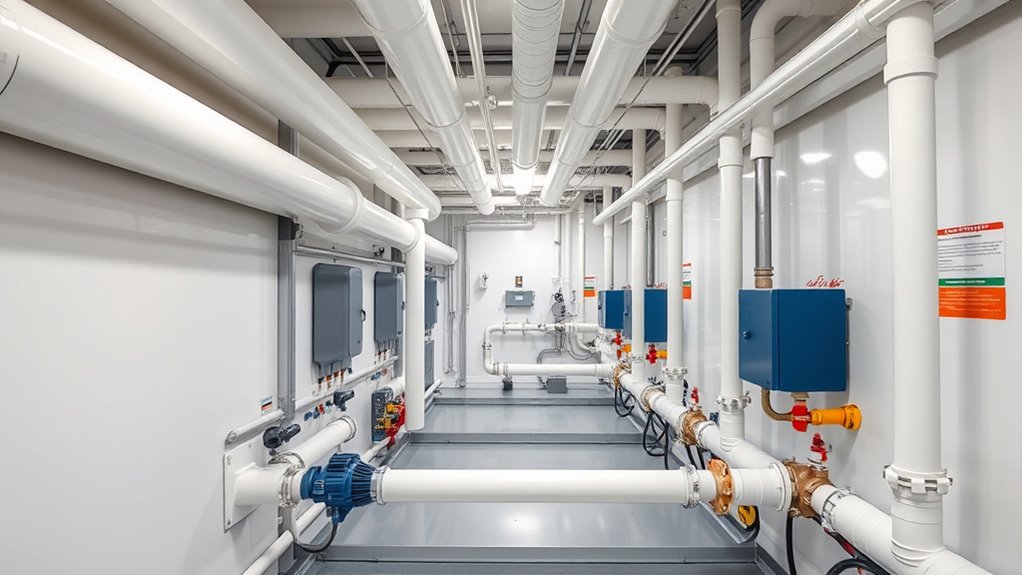
To keep your equipment pad easy to maintain, plan your layout carefully by grouping related components and placing frequently accessed units near entry points. Guarantee there’s enough space around each piece for inspections, repairs, and future upgrades, while maintaining proper clearance for ventilation and drainage. Use clear labels and organized wiring and piping to simplify identification and troubleshooting. Keeping the space tidy and well-ventilated prevents issues and extends equipment life—discover more tips that make maintenance smooth and efficient.
Key Takeaways
- Group related equipment together to streamline access and simplify maintenance routines.
- Maintain clear pathways and proper spacing around units for easy inspection and repairs.
- Label all wires, pipes, and components clearly for quick identification during troubleshooting.
- Incorporate adequate ventilation and drainage solutions to prevent water buildup and ensure equipment cooling.
- Keep the area organized, clean, and clutter-free, regularly inspecting for debris and ensuring ease of access.
Planning Your Equipment Pad Layout for Optimal Access

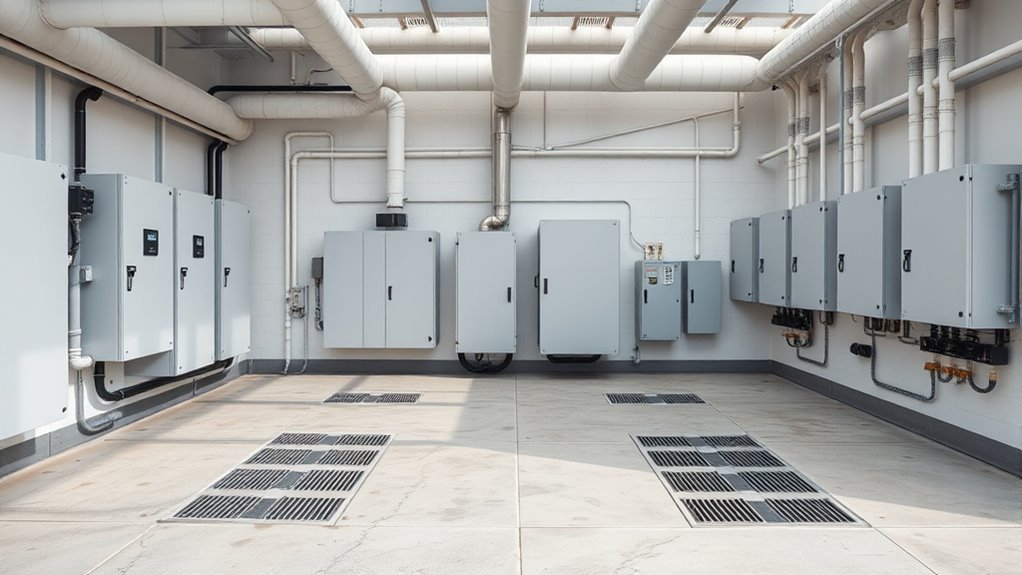
To guarantee smooth operation and easy maintenance, you need to carefully plan your equipment pad layout for maximum access. Start by identifying all equipment components and understanding their service requirements. Leave enough space around each unit for routine inspections, repairs, and replacements. Consider the flow of maintenance tasks—placing frequently accessed equipment closer to doors or pathways reduces effort and time. Think about future expansion; leave room for additional units or upgrades without cluttering the space. Ensure electrical, plumbing, and ventilation connections are easily reachable. Avoid tight corners or cramped spots that hinder access. Good planning minimizes downtime and enhances safety. Additionally, incorporating proper storage practices helps keep the area organized and prevents clutter. Ultimately, a well-thought-out layout simplifies maintenance, reduces operational costs, and keeps your system running efficiently.
Selecting the Right Equipment Placement to Minimize Clutter
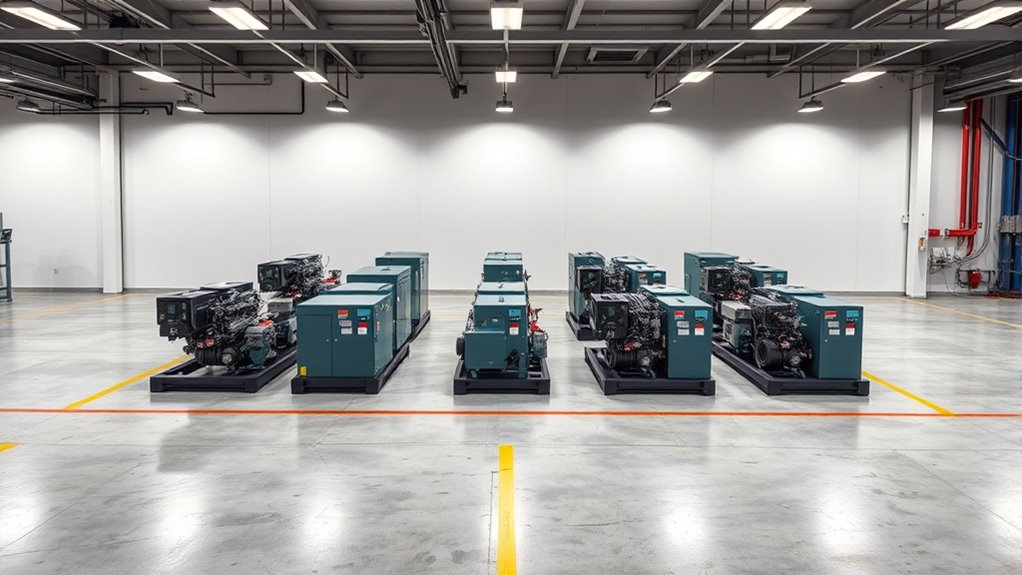
Choosing the right equipment placement is essential for keeping your space organized and preventing clutter from taking over. Start by grouping related equipment close together to streamline access and maintenance. Place frequently serviced items in easily reachable spots, reducing the need to move other equipment around. Avoid spreading out components randomly; instead, plan a logical flow that minimizes cross-traffic. Keep larger or heavier units toward the back or corners to maximize space and stability. Use clear pathways between equipment to prevent crowding and ensure easy movement. Remember, strategic placement reduces the risk of accidental damage and makes routine inspections smoother. Additionally, considering the farmhouse aesthetic can help maintain a cohesive and inviting appearance in your equipment area. By thoughtfully positioning each piece, you’ll create a neat, efficient layout that simplifies maintenance and keeps clutter under control.
Ensuring Adequate Clearance for Safe Maintenance and Repairs
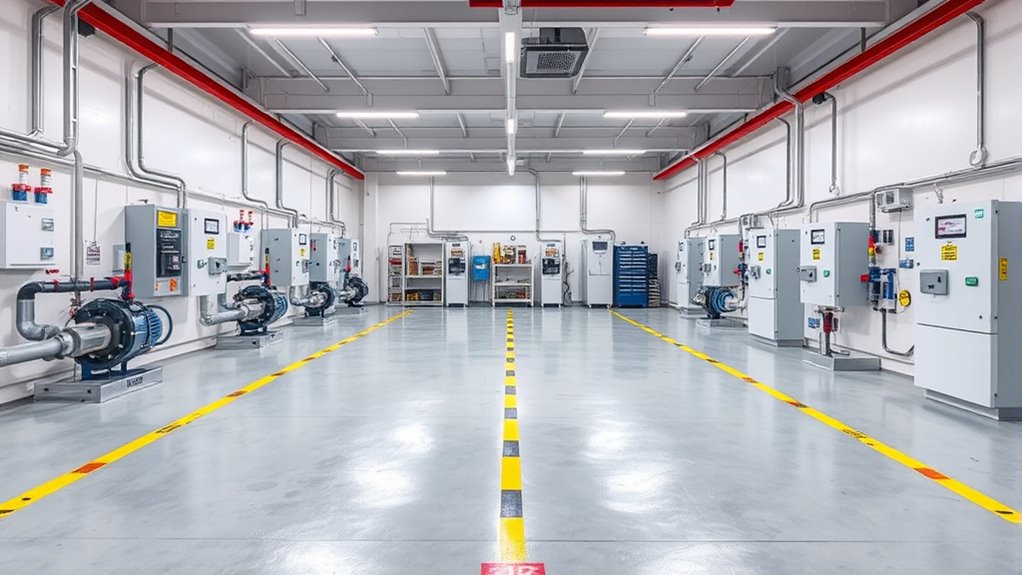
You need enough space around your equipment to perform maintenance and repairs safely. Make sure the clearance allows easy access without obstacles or tight spots. Proper spacing not only simplifies repairs but also helps prevent accidents. Additionally, consider cost‑of‑ownership factors when planning your layout to ensure long-term affordability and ease of maintenance.
Adequate Space Requirements
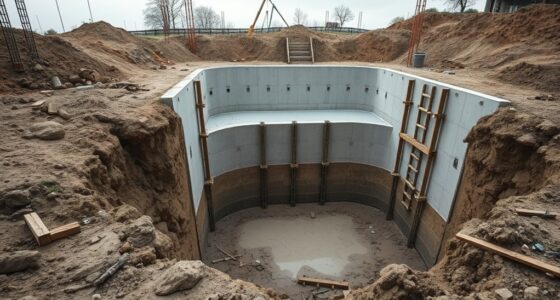
Ensuring sufficient space around equipment pads is essential for safe maintenance and repairs. You should allocate enough room to easily access all sides of the equipment without obstruction. This allows technicians to work efficiently and reduces the risk of accidents. Typically, manufacturers specify minimum clearance distances—often at least 24 inches on sides and 36 inches in front—for safe operation and servicing. Avoid cramming equipment too close together, which can lead to overheating, restricted airflow, or difficulty in troubleshooting. Consider future expansion or upgrades when planning space requirements. Proper spacing also helps maintain compliance with safety codes and standards. By providing adequate space, you make maintenance safer, faster, and less stressful, ultimately extending the lifespan of your equipment and reducing downtime. Additionally, implementing natural techniques such as crop rotation and cover crops in your setup can improve overall system efficiency.
Accessibility for Repairs
To perform repairs safely and efficiently, it’s essential to maintain adequate clearance around equipment pads. Sufficient space allows you to access components without obstruction, reducing the risk of injury or damage. Make sure there’s enough room to open panels, disconnect wiring, or replace parts comfortably. Avoid tight layouts that force you into awkward positions or make tools difficult to use. Clear pathways also help you move around quickly in emergencies. Regularly check that nothing encroaches on the clearance zones, especially as equipment ages or other systems are added. Proper spacing ensures you can work safely and complete repairs without unnecessary delays. Additionally, considering the contrast ratio of your projector setup can help optimize viewing conditions during maintenance or adjustments. Proper spacing and attention to image quality parameters ultimately minimize downtime and keep your equipment running smoothly.
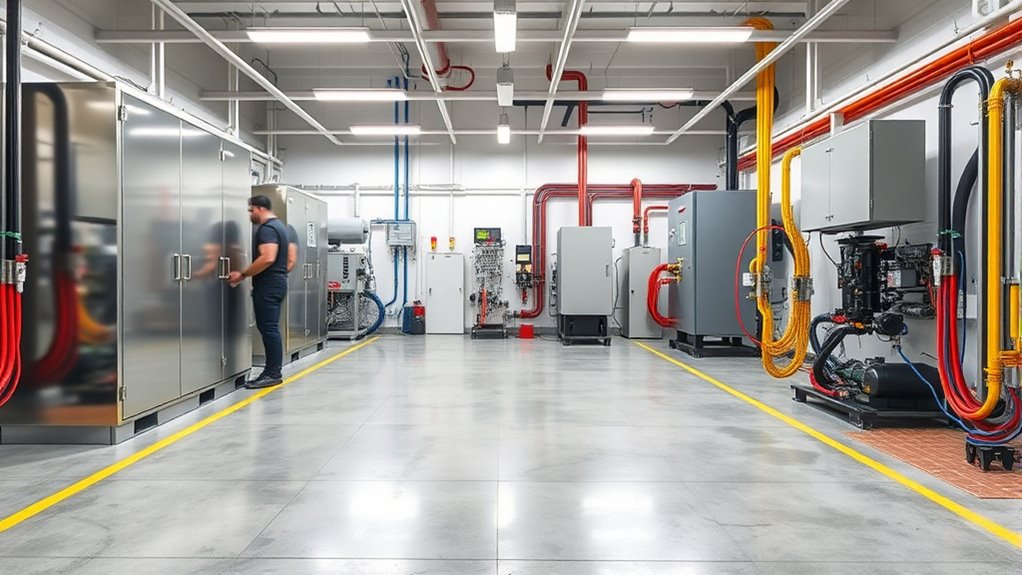
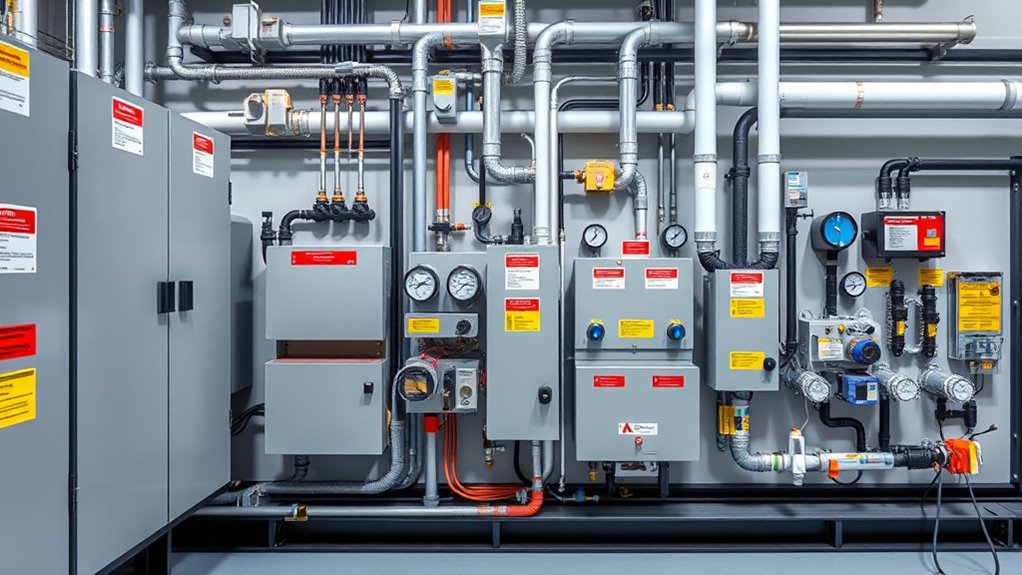
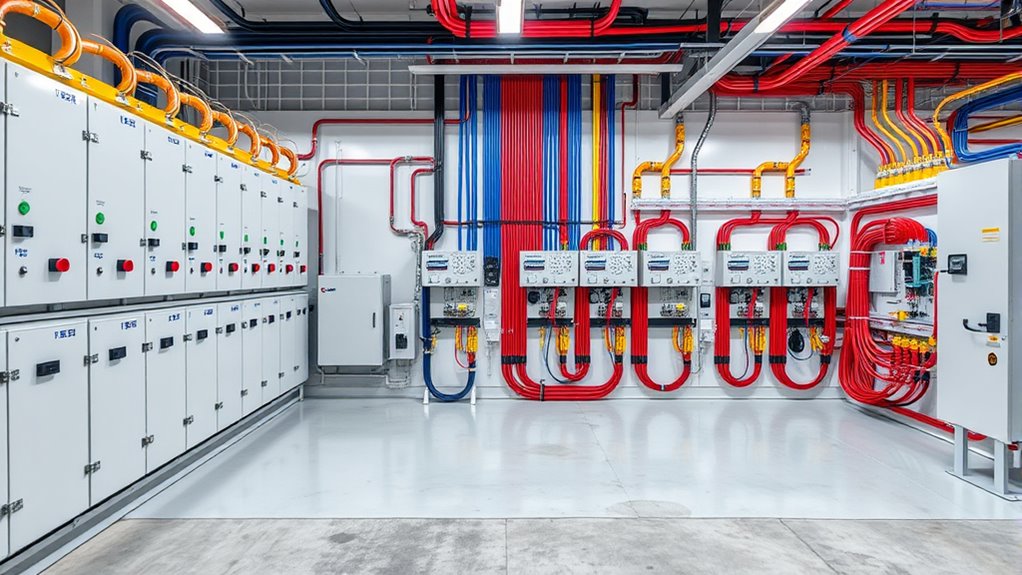
Organizing Wiring and Piping for Simplicity and Safety
Organizing wiring and piping effectively is essential for maintaining both safety and ease of maintenance on your equipment pad. Proper layout reduces clutter, prevents accidental damage, and makes troubleshooting straightforward. Use clearly labeled conduits and pipes to identify functions quickly. Keep wiring elevated and secured to avoid tripping hazards or exposure to moisture. Group related pipes and wires together, avoiding crossing or tangling. Install accessible junction boxes for easy access during repairs. Use the following table to help plan your layout:
| Wiring Tips | Piping Tips |
|---|---|
| Label all wires clearly | Use color-coded pipes for flow |
| Secure wiring neatly in conduits | Insulate pipes to prevent leaks |
| Keep wiring away from heat sources | Maintain accessible shut-off valves |
| Consider the overall safety of your setup to prevent hazards.
Incorporating Proper Ventilation and Drainage Considerations
Proper ventilation and drainage are essential for maintaining safe and efficient operation of your equipment pad. Good airflow prevents overheating and reduces humidity, protecting your equipment from corrosion. Adequate drainage avoids water pooling, which can cause electrical issues and structural damage. To achieve this, consider the following:
- Install vents or louvers for continuous airflow
- Use raised pads or sloped surfaces for water runoff
- Incorporate drainage channels or pipes to direct excess water away
- Choose permeable or gravel surfaces to facilitate drainage
- Ensure surrounding landscaping doesn’t block airflow or water flow
- Regular inspections help identify and address potential ventilation or drainage issues to prevent problems.
Implementing these measures ensures your equipment stays dry, cool, and functional, minimizing maintenance needs and prolonging lifespan. Proper ventilation and drainage are crucial for safety, reliability, and operational efficiency in your equipment pad.
Using Labels and Signage to Improve Identification and Efficiency
Effective labels and signage play a vital role in quickly identifying equipment and access points, which enhances operational efficiency and safety. Clear labels help you and your team locate specific components without wasting time searching, reducing errors and delays. Use durable, weather-resistant materials for all signage, ensuring they remain visible over time. Position signs at eye level and near key access points for immediate recognition. Incorporate standardized color codes and symbols to convey information quickly, such as safety hazards or operational instructions. Consistent signage reduces confusion, especially during emergencies or maintenance tasks. Remember to keep labels legible with large fonts and clear wording. Proper signage creates a more organized, safer equipment pad, making routine inspections and emergency responses smoother and more effective. Regularly updating signage information ensures ongoing clarity and safety compliance.
Maintaining a Clean and Tidy Space Through Regular Upkeep

Keeping your equipment pad clean and organized is essential for safety and efficiency. Regularly perform cleaning, arrange equipment logically, and schedule maintenance checks to make certain issues are prevented. Staying consistent with these practices helps ensure your space remains tidy and well-maintained. Incorporating regular upkeep routines can further reduce the risk of unexpected equipment failure and prolong the lifespan of your assets.
Routine Cleaning Practices
Have you ever considered how much easier it is to work in a clean, organized space? Regular cleaning keeps your equipment pad safe and efficient. Dedicate time weekly to sweep away dirt, debris, and dust that can cause equipment malfunctions. Wipe down surfaces and control panels to prevent buildup and corrosion. Check for leaks or spills and address them immediately to prevent slips or damage. Maintain clear access paths by removing unnecessary clutter. Establish a routine checklist to ensure nothing gets overlooked. Consistent cleaning not only prolongs equipment life but also reduces safety hazards. Staying disciplined with these practices ensures your workspace remains productive and hazard-free. Proper maintenance practices are essential for ensuring your outdoor kitchen equipment functions reliably and safely.
Organizing Equipment Effectively
Maintaining a clean and organized equipment pad requires regular attention and deliberate effort. Start by categorizing your equipment based on function or frequency of use. Keep frequently accessed items within easy reach, while seldom-used equipment can be stored further back. Use labels on cabinets, shelves, and containers to identify contents quickly. Implement a logical layout that minimizes clutter and allows for smooth movement around the pad. Ensure that hoses, cables, and wires are neatly coiled and secured to prevent tripping hazards. Regularly inspect storage areas and remove outdated or unused items. By maintaining a consistent organization system, you reduce downtime during maintenance and repairs, keeping the space safe, efficient, and easy to navigate. Staying disciplined with organization pays off in long-term ease of maintenance.
Scheduled Maintenance Checks
Scheduling regular maintenance checks helps guarantee your equipment pad stays clean, organized, and safe. By routinely inspecting your setup, you catch issues early, prevent clutter buildup, and ensure everything functions smoothly. This proactive approach minimizes unexpected breakdowns and extends the lifespan of your equipment. During each check, focus on cleaning debris, tightening loose connections, and verifying safety features. Keep detailed records of inspections to track patterns and plan future maintenance. Consistent upkeep also helps identify potential hazards like leaks or corrosion before they escalate.
- Inspect for debris, dirt, and obstructions
- Tighten loose fittings and connections
- Check for signs of corrosion or leaks
- Test safety switches and alarms
- Review equipment operation and cleanliness
Troubleshooting Common Layout Issues to Prevent Future Problems
Identifying and addressing common layout issues early can save you from costly delays and safety hazards down the line. One common problem is clutter blocking access points, which can slow maintenance and create safety risks. Regularly inspect the layout to guarantee pathways remain clear and equipment is properly spaced. Overcrowded or tight arrangements make troubleshooting difficult and increase the chance of accidental damage. Another issue is poor labeling or signage, leading to confusion during repairs. Make sure all equipment and shut-off points are clearly marked. Finally, check for uneven surfaces or drainage problems that could cause water pooling or instability. By proactively troubleshooting these issues, you’ll maintain a functional, safe, and efficient equipment pad, preventing future breakdowns and ensuring smoother maintenance routines.
Frequently Asked Questions
How Often Should Equipment Pads Be Inspected for Potential Issues?
You should inspect equipment pads at least once every three to six months. Regular checks help you spot potential issues like corrosion, loose connections, or debris buildup early. If you notice any signs of damage or wear, perform maintenance promptly to prevent more significant problems. Seasonal inspections are also recommended, especially after severe weather, to verify your equipment remains in good condition and operates efficiently.
What Materials Are Best for Durable, Easy-To-Maintain Equipment Pads?
Concrete and high-quality pavers are your best bets for durable, easy-to-maintain equipment pads. Concrete withstands heavy loads and resists weather, while pavers allow for easy replacement if needed. Both materials require minimal upkeep—just occasional cleaning and sealing—to keep them looking their best. Choosing the right materials guarantees your equipment stays protected and accessible, simplifying maintenance and extending the lifespan of your setup.
How Can Noise Levels Be Minimized in Equipment Pad Designs?
To minimize noise in your equipment pad design, you should incorporate sound-absorbing materials like rubber mats or acoustic panels beneath and around the equipment. Guarantee proper equipment placement to reduce vibration transmission, and use vibration isolators or pads to dampen operational noise. Maintain a well-organized layout to prevent unnecessary noise from clutter and ensure easy access for maintenance, which helps address noise issues quickly and effectively.
Are There Specific Safety Standards or Codes for Equipment Pad Layouts?
Yes, there are specific safety standards and codes you should follow for equipment pad layouts. You need to adhere to local building codes, OSHA regulations, and manufacturer guidelines to guarantee safety and compliance. These standards specify minimum clearances, proper spacing, grounding, and ventilation requirements. By following them, you reduce risks, facilitate maintenance, and create a safe environment for workers and equipment operation. Always consult applicable codes before designing or modifying an equipment pad.
How Can Environmental Factors Affect Equipment Pad Longevity and Performance?
Think of your equipment pad as a sturdy fortress. Environmental factors like moisture, extreme temperatures, and debris can erode its defenses, causing rust, corrosion, or damage over time. You can prevent this by ensuring proper drainage, using weatherproof materials, and regular inspections. By safeguarding the fortress, you extend the equipment’s lifespan and keep it performing efficiently, even when nature throws its worst at you.
Conclusion
By paying close attention to your equipment pad’s layout, you turn a cluttered mess into a smooth-operating masterpiece—almost like orchestrating a symphony. Keep your space organized, accessible, and well-maintained, and you’ll prevent problems before they start. Remember, a well-designed pad isn’t just a good idea; it’s the secret weapon that keeps your system running flawlessly, saving you time, money, and headaches. Master the layout, and enjoy peace of mind like never before.