
To install pool tile and coping, you’ll want to start by preparing a waterproof membrane on the surface. Use a notched trowel to spread adhesive evenly, then press tiles firmly into place, checking alignment as you go. For coping, measure and cut stones precisely, then secure with high-quality adhesive and seal the edges with waterproof sealant. Using the right tools and techniques guarantees a durable, watertight finish—keep going to discover all the essential steps involved.
Key Takeaways
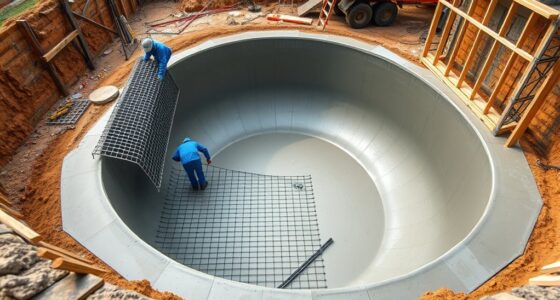
- Prepare a clean, level substrate with waterproofing membrane to ensure proper adhesion and prevent water damage.
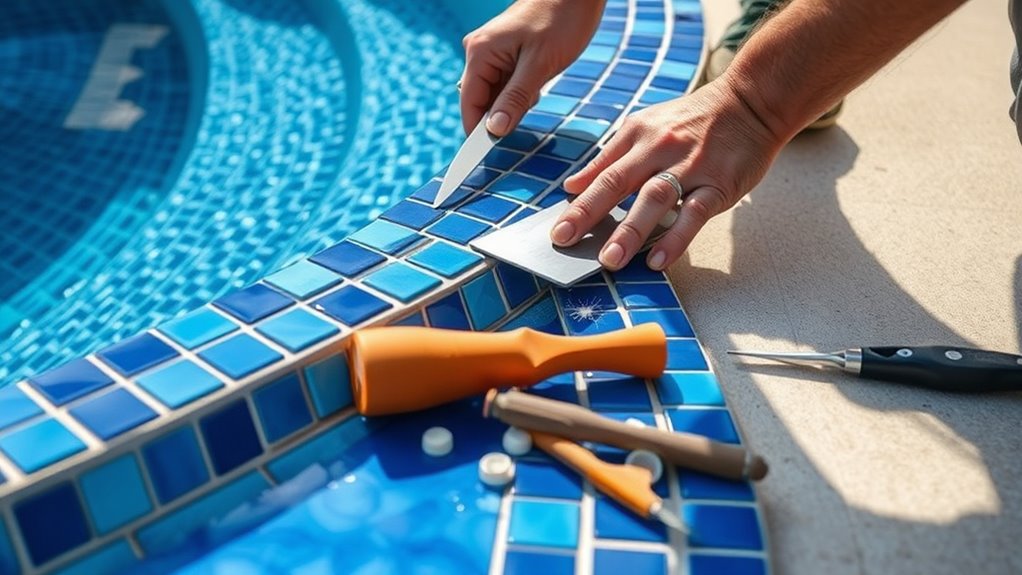
- Use a notched trowel to evenly spread adhesive on the membrane before setting tiles and coping.
- Press tiles and coping stones firmly into place, maintaining consistent gaps for grout and proper alignment.
- Apply waterproof or epoxy grout carefully, ensuring joints are filled and sealed for water-tightness.
- Seal edges and coping with waterproof sealant to prevent water infiltration and enhance durability.
Installing pool tile and coping is a critical step in finishing your pool’s appearance and guaranteeing its durability. Proper installation not only enhances the visual appeal but also protects your pool from water damage. Before you start laying tiles, it’s essential to consider waterproof membranes. These membranes act as a barrier, preventing water from seeping behind the tiles and causing damage to the underlying structure. Applying a waterproof membrane over the pool’s surface ensures that your investment remains protected over time, especially in areas exposed to constant moisture. Make sure you select a membrane compatible with pool environments, and follow the manufacturer’s instructions to create a seamless, waterproof layer before setting your tiles.
Once the waterproof barrier is in place, you’ll need to focus on grout selection. Grout plays a crucial role in securing the tiles and filling the gaps to create a smooth, finished look. When choosing grout, opt for a waterproof or epoxy-based variety designed specifically for pools. Regular cement grout can absorb water, leading to staining, cracking, or mold growth over time. Waterproof grout resists moisture and chemicals, maintaining its integrity and appearance for years. Take your time selecting a grout color that complements your tiles, whether you prefer a subtle blend or a contrasting accent. Properly mixed grout, applied in the right thickness, helps prevent water infiltration and ensures the longevity of your tile installation.
As you proceed with laying the tiles, use a notched trowel to spread adhesive evenly over the waterproof membrane, making sure to press each tile firmly into place. Leave consistent gaps for grout, and periodically check alignment to keep your pattern straight. When the tiles are set, allow the adhesive to cure fully before applying grout. Once the grout is applied, use a rubber float to press it into the joints, removing excess and smoothing the surface. Cleaning the tiles promptly with a damp sponge helps eliminate grout haze and reveals a crisp, professional finish. After the grout has cured, inspect the gaps for any missed spots and touch up as needed to guarantee water-tightness. Additionally, understanding the importance of proper substrate preparation can significantly impact the durability of your tile installation.
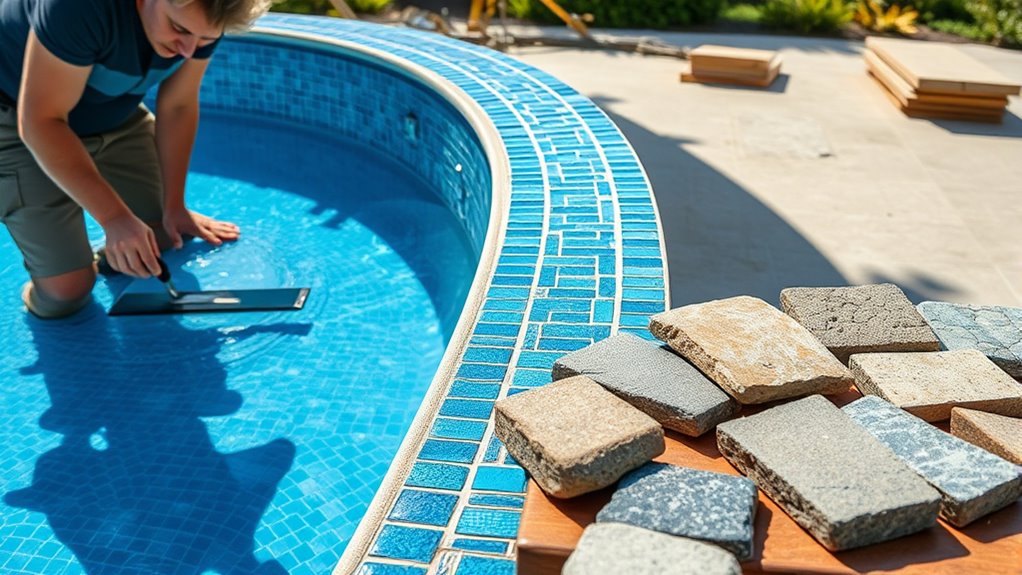
Coping installation follows the same principles of durability and waterproofing. Carefully measure and cut coping stones to fit around the pool’s edge, then secure them with a high-quality adhesive suited for outdoor and wet conditions. Sealing the edges with a waterproof sealant provides extra protection against water infiltration. Throughout the process, prioritize precision, patience, and using the right tools, like tile spacers and trowels, to achieve a flawless, long-lasting result. Properly installed pool tile and coping not only elevate your pool’s aesthetic but also safeguard it against the elements, ensuring many years of enjoyment.
Frequently Asked Questions
How Long Does Pool Tile Installation Typically Take?
Pool tile installation typically takes about one to two weeks, depending on the size of your pool and the complexity of the design. You should plan for the pool tile timing to include surface preparation, tile setting, and grouting. Your installation schedule might be affected by weather or any necessary repairs. Staying in close contact with your contractor helps guarantee the project stays on track and completes within your expected timeframe.
What Are the Best Tools for Cutting Pool Coping?
For cutting pool coping, you should use a high-quality pool saws for straight cuts and larger pieces, ensuring precision and efficiency. For curves or detailed work, tile nippers are your best bet—they let you shape and trim with control. Make sure to wear safety gear and keep your tools sharp. Combining these tools allows you to achieve clean, professional edges and a seamless fit around your pool.
Can I Install Pool Tile Myself or Should I Hire a Professional?
Installing pool tile yourself is like trying to navigate a complex maze—possible but tricky. While DIY challenges can be rewarding, they often lead to mistakes that cost more time and money. Hiring a professional offers clear benefits: expert craftsmanship, proper adhesion, and a flawless finish. If you’re confident in your skills and have the right tools, you can try; otherwise, investing in a pro guarantees a durable, beautiful result.
How Do I Choose the Right Grout for Pool Tiles?
When choosing the right grout for your pool tiles, consider your preferred grout color choices to match or contrast with the tiles, creating the look you want. Opt for a high-quality, waterproof grout to withstand pool conditions. Don’t forget grout sealing tips—apply a waterproof sealer after installation to prevent stains and moisture penetration. This guarantees your pool’s tile work stays vibrant, durable, and easy to maintain over time.
What Maintenance Is Required After Installing Pool Tile and Coping?
After installing pool tile and coping, you should regularly inspect for any signs of damage or grout deterioration. Waterproofing inspections help make sure no leaks develop, and resealing grout every 1-2 years keeps the tiles waterproof and looking fresh. Clean the tiles with non-abrasive cleaners, avoid harsh chemicals, and address any cracks promptly. This routine maintenance prolongs your pool’s lifespan and maintains its aesthetic appeal.
Conclusion
Now that you’ve mastered the art of installing pool tile and coping, remember that patience and precision pave the path to perfection. Take your time, trust your tools, and stay focused on your finish. With dedication and detail, your pool will become a stunning sanctuary that stands out and withstands the test of time. Keep your confidence clear, your commitment constant, and your craftsmanship celebrated. Your pool’s pristine perfection is just a precise, patient process in your capable hands.